How to Check If Your Engineered Wood Floor Can Be Sanded Safely
If you are looking at a scratched, dull or patchy engineered floor and wondering whether it can be brought back to life, the answer is often yes — but only if the wear layer is thick enough and the floor is stable enough to sand safely. At Isleworth Floor Sanding, we inspect engineered boards carefully before any machine is switched on, because one wrong assumption can cut straight through the hardwood veneer and expose the plywood or fibreboard beneath.
For many Isleworth households, especially in modern flats, extensions and renovated family homes, engineered wood flooring is the practical choice. It offers the warmth of real timber with better dimensional stability than many solid boards, which is why it is so often laid over underfloor heating or mixed subfloors. But engineered timber is not all the same. Some products can take a proper restoration sand; others can only tolerate a very light abrading; and some should not be sanded at all.
If you want a professional opinion on whether your floor is a candidate for restoration, our wood floor sanding specialists in Isleworth can assess the surface, measure what matters, and tell you honestly whether sanding, refinishing, recoating or replacement is the right route.
Quick Answer: Can an Engineered Wood Floor Be Sanded?
Yes, many engineered wood floors can be sanded, but only when the real-wood wear layer is thick enough, the boards are flat and secure, and the floor has not already been sanded too aggressively in the past. The decision should never be based on total board thickness alone. What matters is the thickness of the top hardwood layer above the core.
As a practical rule, a quality engineered floor with a substantial oak or hardwood wear layer is often a good candidate for at least one professional sand and refinish. Floors with a very thin veneer, heavily bevelled boards, unstable boards, or visible movement at the joints are much riskier. That is why measuring the wear layer properly comes before choosing abrasives, finishes or stain colours.
What Is the Wear Layer on an Engineered Floor?
The wear layer is the real timber surface on top of an engineered board. Under that hardwood face sits a core, often plywood, softwood lamella or high-density board, designed to improve stability. When people say an engineered floor “is real wood”, this is the part they mean.
The sanding question comes down to how much of that top layer is available for restoration. If the wear layer is generous, a careful professional sanding can remove scratches, dull coatings, minor surface staining and day-to-day wear. If it is too thin, there is a real risk of sanding through the face and exposing the substrate, particularly on edges, micro-bevels, high spots and board ends.
This is also why engineered floors vary so much in refinishing potential. One product may be built for a future restoration cycle, while another is effectively a prefinished decorative surface that should only ever be cleaned, maintained and re-coated where possible.
Why Isleworth Homeowners Need to Be Especially Careful
In Isleworth, we see engineered boards installed across very different settings: newer apartments with floating click-fit flooring, family homes with glued-down oak planks over screed, and renovated Victorian or Edwardian properties where engineered boards have been chosen to cope with movement, heating upgrades or subfloor limitations. Those installation variables matter.
A floor in a dry, modern room with a flat subfloor and a decent wear layer may sand beautifully. A floor in a busier household with pet traffic, kitchen moisture, old subfloor undulations or underfloor heating needs a much more cautious assessment. Surface wear is only one part of the story. We also look at board movement, edge damage, previous coatings, delamination risk, and whether the floor is already close to its practical sanding limit.
If you are also comparing restoration routes for other timber surfaces in the property, our guide to wood floor sanding in Isleworth gives a broader overview of how professional sanding, sealing and repair works across domestic timber floors.
How to Measure Your Wear Layer Before You Start
There is no responsible way to recommend sanding an engineered floor without checking the wear layer. Below is the process we use when assessing whether a floor is suitable.
1. Identify the Floor Type First
Start by confirming that the floor is actually engineered wood and not laminate, LVT, or a wood veneer product with a decorative photographic layer. A real engineered board will have a genuine timber face. If there is a spare plank left from installation, that is the easiest place to inspect the profile.
2. Check for Spare Boards or Offcuts
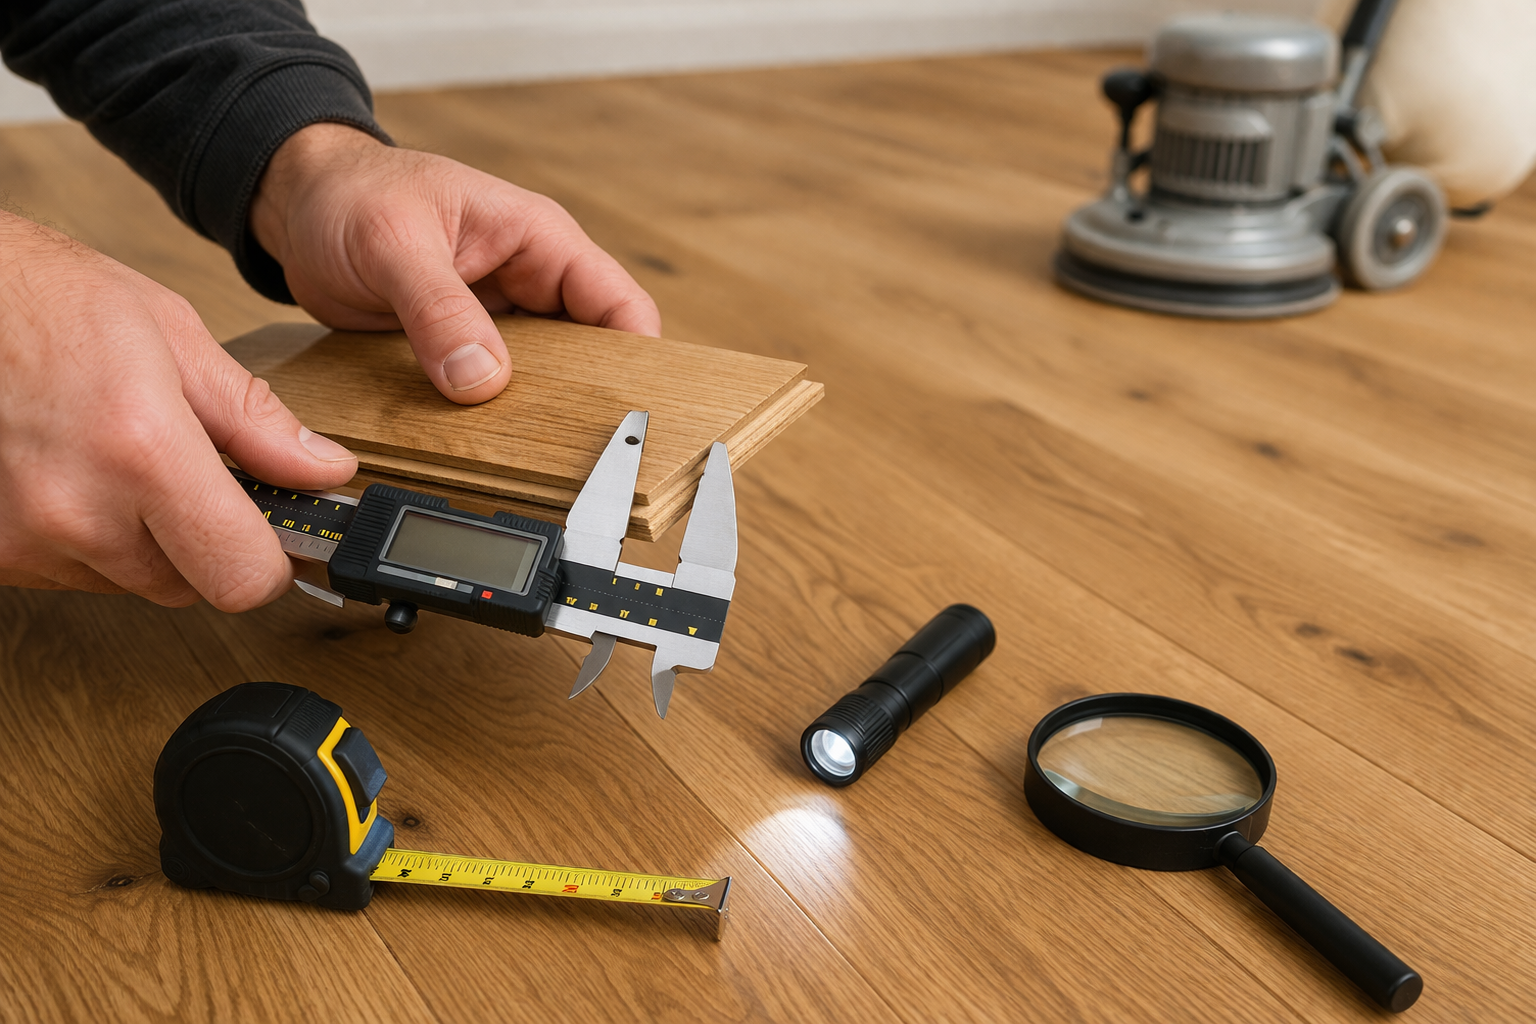
The most accurate and least invasive method is to examine a leftover board from the original installation. Looking at the board edge lets you see the top hardwood lamella sitting above the core layers. This can often tell you far more than product marketing or invoice descriptions.
3. Measure the Hardwood Face, Not the Whole Board
Use digital callipers or a precise rule and measure only the top real-wood layer. Do not confuse total board thickness with sandable thickness. A 14 mm engineered board sounds substantial, but the wear layer may still be limited.
4. Inspect Multiple Areas, Not Just One
If no spare boards exist, lift a threshold or inspect a discreet edge if that can be done safely. Measurements should be taken in more than one place where possible. High-traffic zones, edges and board ends often wear differently. One healthy-looking area does not guarantee the whole floor is safe to sand.
5. Assess Board Flatness and Surface Condition
Even a nominally adequate wear layer can become risky if the floor is cupped, crowned, lipped or uneven. The more levelling the sanding requires, the more timber has to be removed. That is why experienced sanding is not just about thickness; it is about how much material must be sacrificed to achieve a clean, even finish.
6. Look for Previous Sanding History
If the floor has already been sanded before, the original wear-layer specification may no longer be relevant. Prefinished coatings can also disguise earlier restoration work. Clues include softened board edges, reduced bevel definition, unusually thin top faces near thresholds, or inconsistent stain retention along the surface.
What Wear-Layer Thickness Usually Means in Practice
While every floor needs inspecting individually, wear-layer thickness gives a strong indication of what is realistic.
Very Thin Veneer Floors
If the surface is essentially a veneer product rather than a true refinishable engineered board, sanding is usually off the table. In these cases, cleaning, maintenance products or full replacement are often safer than taking abrasives to the surface.
Thin Wear Layers
Floors with a limited top layer may sometimes tolerate only a very light abrading or screen-and-recoat approach, assuming the finish system allows it. This can refresh the coating without trying to remove meaningful timber.
Moderate to Good Wear Layers
Better-quality engineered boards with a more substantial hardwood face are usually the most viable candidates for a full sand and refinish. These are the floors where a measured, conservative sanding sequence can remove wear while preserving the long-term life of the board.
Important Trade Reality
The number on paper is not the whole story. Board profile, species hardness, bevel detail, existing damage, cupping, adhesive bond, and installation method all affect how safely the floor can be restored. That is why “Can it be sanded?” is a survey question, not a yes-or-no internet myth.
Signs Your Engineered Floor May Be Safe to Sand
- The boards have a genuine hardwood wear layer rather than a veneer-only decorative face.
- You have a spare board or visible edge confirming a substantial top layer.
- The floor is flat, stable and well bonded or properly installed.
- Surface issues are mostly scratches, dullness, light staining and finish breakdown rather than deep structural damage.
- The floor has not already been heavily sanded before.
- The board edges and bevels are not already close to wearing through.
Signs You Should Not Sand It Yet
- You do not know the construction and have no way to confirm the wear layer.
- The floor is a thin veneer product or budget board with minimal hardwood face.
- There is visible movement, bounce, delamination or failed joints.
- The floor has water damage, swelling or black staining that may require board replacement.
- The boards are badly cupped or uneven, meaning too much material would need to be removed.
- You are relying on a hire machine and guesswork rather than a measured inspection.
How We Assess an Engineered Floor Before Sanding
At survey stage, we do far more than glance at the finish and quote for sanding. We check the floor as a system.
- Wear-layer identification: confirming whether the board is realistically refinishable.
- Moisture and room conditions: especially in kitchens, hallways and ground floors.
- Subfloor stability: movement underneath can ruin even the best finish.
- Board profile: plank thickness, bevels and edge detail influence how much can be removed.
- Existing coating: lacquer, oil, UV finish or factory-cured treatment all affect the restoration plan.
- Repair requirements: loose boards, damaged planks and failed thresholds should be addressed before any finishing work.
Where appropriate, we then plan a conservative sanding programme using the minimum effective cut, not an aggressive strip-back. On engineered oak, that judgement matters enormously.
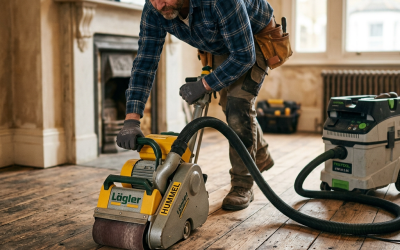
Why DIY Sanding Is Riskier on Engineered Boards Than Solid Timber
Solid timber gives you more margin for error. Engineered timber usually does not. A heavy first cut, a poor machine set-up, uneven pressure, or one extra pass on a high spot can permanently damage the floor. Even when the central board field survives, the danger areas are often the edges, bevels, doorways and transitions where the hardwood face is more vulnerable.
We also see avoidable damage where homeowners try to “spot sand” traffic lanes or remove a UV-cured factory finish without adapting the abrasive sequence. The result is patchiness, dish-out, exposed substrate or a floor that can no longer take a proper restoration later.
That same principle of careful preservation applies to patterned timber too. If your property also has traditional blocks or older decorative flooring, our article on parquet floor sanding in Isleworth explains why precise sanding technique matters even more when geometry and edges must stay crisp.
What If the Floor Cannot Be Sanded?
Not every engineered floor needs replacing just because full sanding is unsuitable. Depending on the condition and coating system, there may still be sensible options:
- Deep clean and maintenance treatment for dull, tired-looking surfaces.
- Screen and recoat where the existing finish is compatible and the timber beneath does not need cutting back.
- Localised board replacement for isolated damage.
- Recoating with the correct finish system to restore protection and appearance.
- Partial or full replacement only when the board construction or damage level makes restoration impractical.
A good survey can save you money here. Some floors people assume need replacing can be refreshed. Others look “sandable” but would be put at real risk by restoration. Honest advice matters more than a quick sale.
Best Finishes After Sanding an Engineered Wood Floor
If your floor is suitable for sanding, the finish choice matters almost as much as the sanding itself. In Isleworth homes, we typically discuss three broad finishing directions:
Water-Based Lacquer
A strong choice for busy family areas, hallways and open-plan spaces. It dries relatively quickly, has low odour compared with older solvent-heavy systems, and offers dependable resistance to daily wear.
Hardwax Oil
Ideal where homeowners want a more natural, low-sheen appearance that keeps the timber feeling authentic. Good products can be easier to repair locally, though they do require the right maintenance regime.
Colour Change or Stain with Care
Engineered floors can sometimes be stained after sanding, but the margin for error is narrower than with thick solid timber, especially where factory bevels or mixed grain are involved. Test patches are essential before committing.
If finish choice is part of your decision-making, our existing guide on keeping patina while losing damage is useful for understanding how restoration choices affect character, tone and long-term appearance.
Common Questions We Hear in Isleworth
Can engineered oak be sanded?
Often yes, provided the wear layer is thick enough and the boards are stable. Oak engineered floors are among the most common candidates for professional restoration.
Can a click-fit engineered floor be sanded?
Sometimes, but floating floors need very careful assessment. Excessive movement, flex or poor subfloor preparation can make sanding risky or produce a weaker final result.
Will sanding remove deep dents and black water marks?
Not always. Some stains run too deep, and some damaged boards are better replaced individually than over-sanded across the whole room.
How many times can an engineered floor be sanded?
There is no single answer. It depends on the original wear-layer thickness, the flatness of the installation, how much timber each sanding removes, and whether the floor has been restored before.
Final Verdict: Measure First, Sand Second
If there is one takeaway from this guide, it is this: do not decide whether an engineered floor can be sanded by looking at the room from standing height. The right decision comes from checking the wear layer, the board construction, the installation condition and the amount of correction the surface actually needs.
Done properly, sanding an engineered wood floor can extend its life, improve the look of the whole room and avoid premature replacement. Done carelessly, it can destroy a perfectly serviceable floor in a single day.
That is why we always advise Isleworth property owners to inspect first and restore second. A measured, technically sound approach protects the timber, the appearance and your budget.