Colour, Sheen & Finish Choices for Honest Results
Antique floors carry stories underfoot. The soft glow where thousands of shoes have passed, the gentle undulations left by hand tools, the slight deepening of colour where sunlight once pooled—these are the quiet signals of age we call patina. Yet time is not always kind. Water rings, grey traffic lanes, cupped blocks, and loosened fingers can turn character into chaos. This guide shows you how to hold onto the charm while stripping away the harm—how to keep the lived-in beauty and lose the structural or cosmetic problems that undermine it.
Why “patina” matters (and why it’s not just a buzzword)
Patina is perception plus physics. On the perception side, patina reads as authenticity: a believable, lived-in surface that instantly makes a room feel settled and inviting. On the physics side, patina is the sum of micro-scratches, oxidised oils, mellowed pigments, and finish wear that scatter light in a way new floors simply don’t. Eliminating it can make a period home feel oddly young; preserving it connects the space to its history.
But patina should never be confused with damage. Torn finish, crumbling edges, blackened water ingress, adhesive bleed, and permanent grime are problems masquerading as “character.” The art of conservation is learning to distinguish what to keep from what to correct—then sequencing the work so you repair with restraint.
A conservation mindset beats a replacement mindset
The fastest path is almost never the best one. Full replacement writes a tidy invoice but deletes a century of craftsmanship; aggressive sanding may level a surface quickly but erases hard-won detail. A conservation mindset starts with minimal intervention: tighten what’s loose, stabilise what’s weak, clean what’s dirty, recolour what’s bleached, protect what’s vulnerable. Only then do you consider more invasive work.
That order matters. Clean first so you can see the floor you actually have. Consolidate blocks so repairs don’t telegraph later. Re-establish tonal balance so micro-defects recede. Finally, protect with a finish that preserves clarity rather than smothering it.
The anatomy of traditional parquet
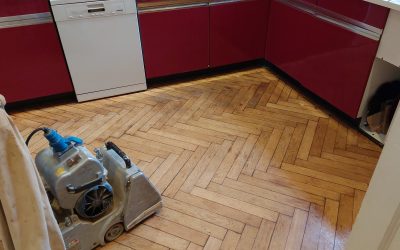
Traditional parquet—herringbone, chevron, Versailles, and basketweave—typically uses small-format solid wood blocks bonded to a stable substrate with bitumen or later adhesives. Each block has three weak points:
- Edges and arrises: vulnerable to chipping and rounding.
- End grain joints: thirsty, prone to slight shrinkage lines.
- Bond line: the hidden interface where adhesive failure shows up as drumminess or slight rocking.
Understanding those weak points drives good decisions. For instance, you might accept modest rounding of arrises as patina, while rejecting a loose, drummy patch that will creep wider over time.
Diagnosing what you’ve got: a simple on-site audit
Use this four-pass audit before you touch a sander or a can of finish.
1) Structure
- Tap test: use a knuckle or small mallet to listen for hollow areas.
- Shear test: push laterally on suspect blocks; if they move, they’ll need lifting and re-bonding.
- Subfloor moisture: a high reading suggests hidden risk; correct the source before cosmetic work.
2) Surface condition
- Cupping or crowning: check across multiple rows; persistent cupping may reflect humidity cycles.
- Edge crumble: localised? You can consolidate. Widespread? Plan targeted replacements.
- Previous coats: identify oil, wax, shellac, or polyurethane; compatibility rules your next steps.
3) Colour and tone
- Sun fade vs. grime: wipe a small area with isopropyl on a cloth; if colour jumps, you’re seeing dirt.
- Water blackening: oxalic acid can reduce iron-tannin stains; deep burns may need plug repairs.
- Bitumen bleed: warm, gentle solvent work and barrier primers can help—go slow.
4) Acoustics and movement
- Creak lines: often a substrate issue rather than the blocks; consider fasteners or subfloor fixes from beneath.
- Transition thresholds: these are stress points; stabilise them early to avoid telegraphing later.
Cleaning is not trivial—it’s the keystone step
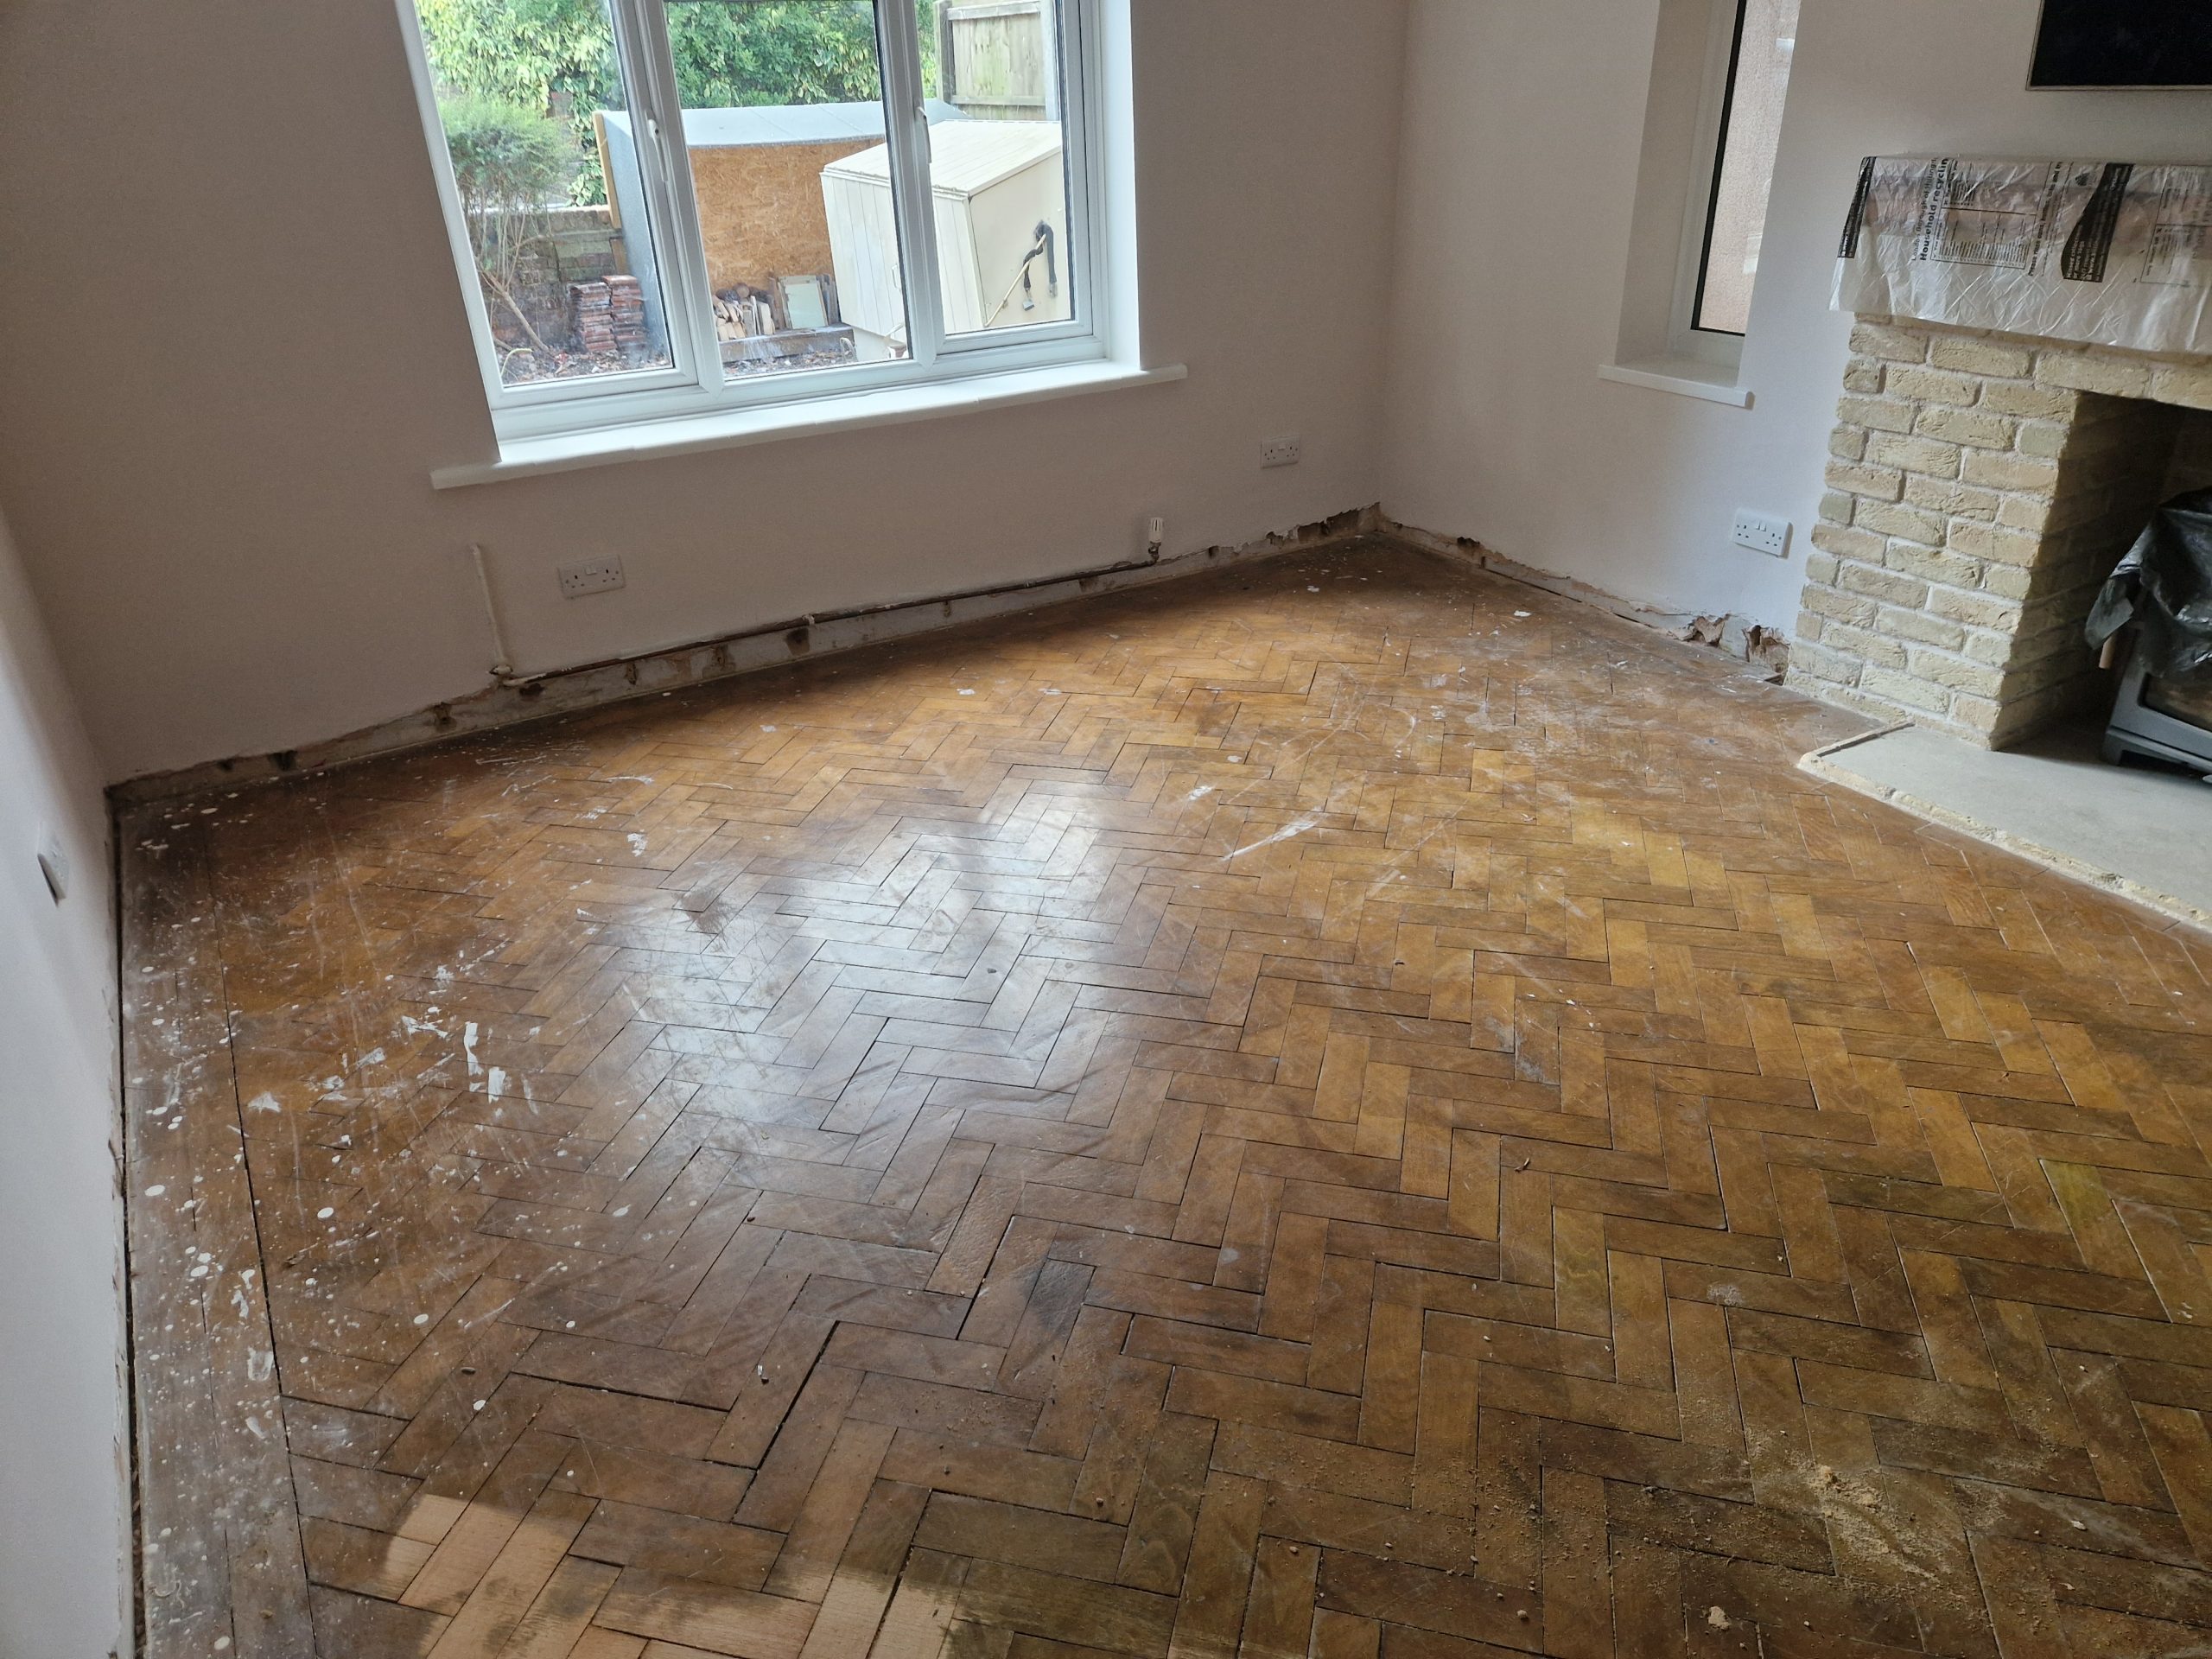
Dry soil is abrasive; wet soil is a stain. Professional pre-cleaning should be staged:
- Vacuuming with a felt tool to avoid cutting new micro-scratches.
- Alkaline-leaning detergent (wood-safe) to float greasy soils without chewing finish.
- Rinse and neutralise to reset pH, then allow a proper dry-down.
- Solvent spot work for tar, polish residues, and persistent heel marks—with ventilation and test patches.
You’ll be amazed how many “unsalvageable” floors simply needed the right clean to reveal their underlying grace.
Where minimal sanding makes sense—and where it doesn’t
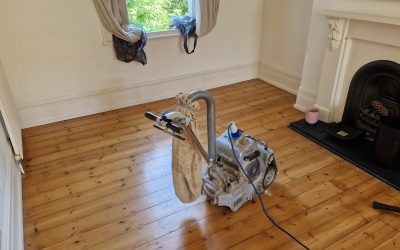
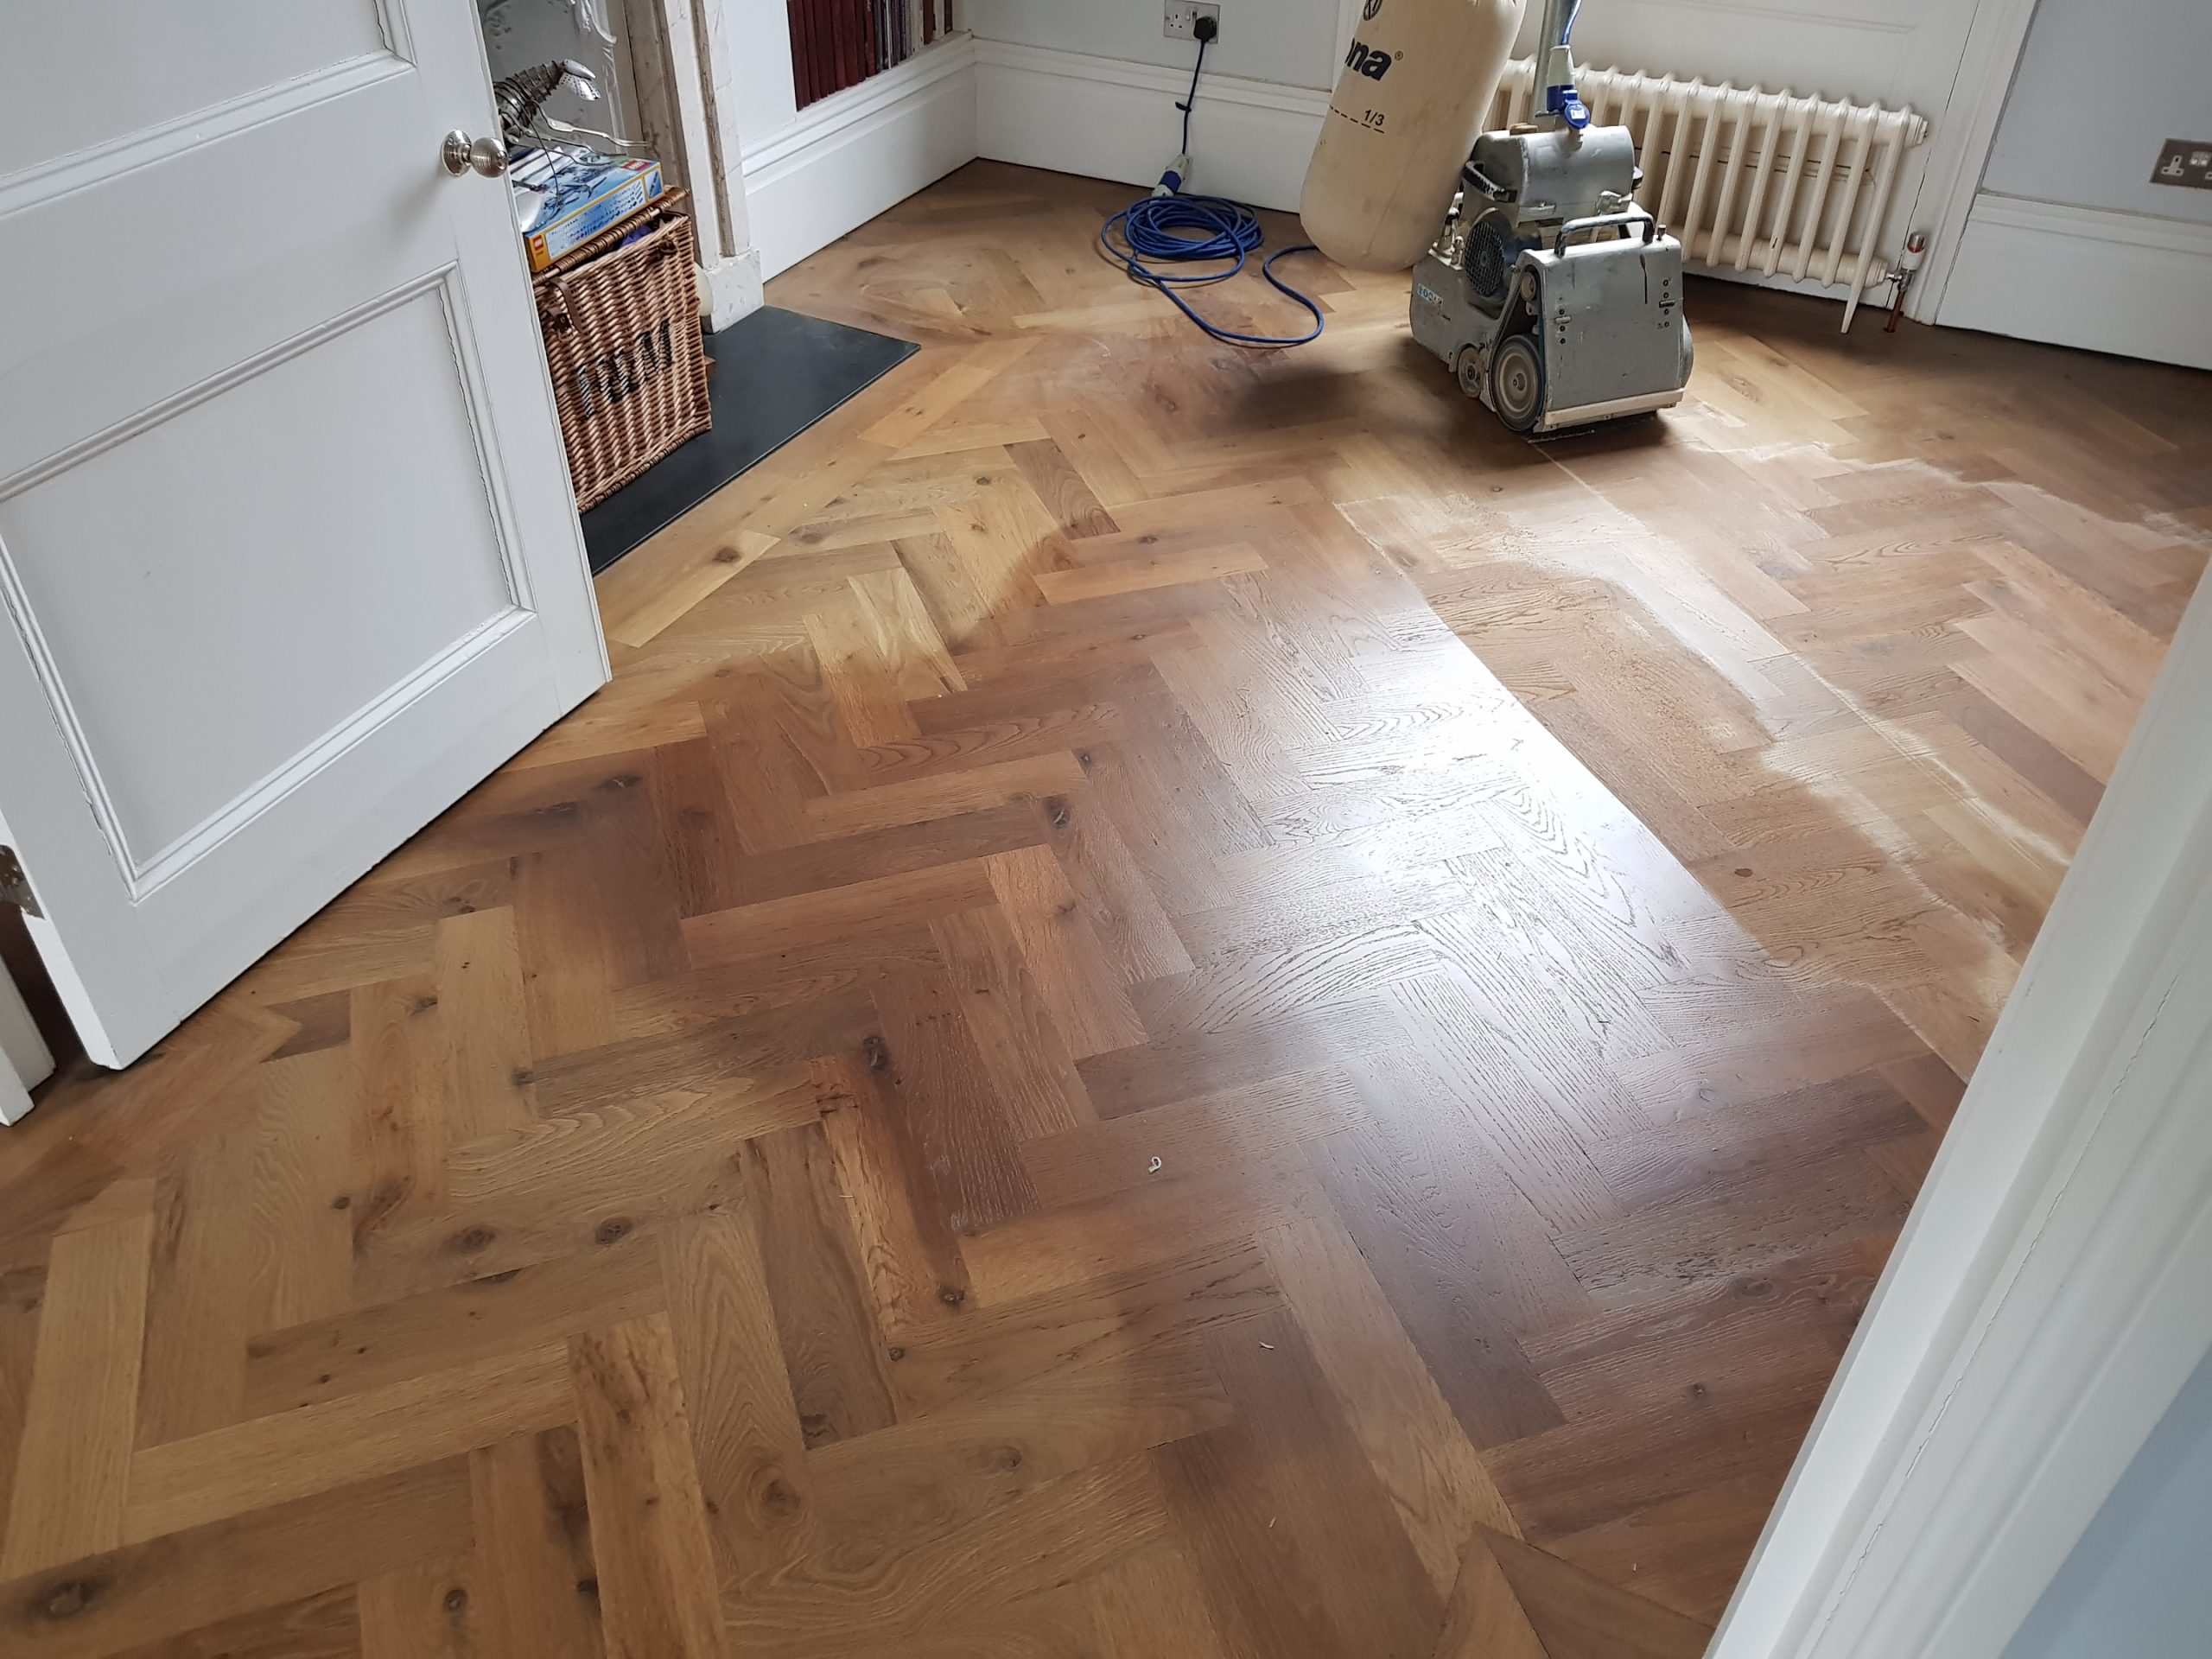
Light abrasion (a “screen and recoat”) can rescue a tired finish if the film is intact and bonded. The aim is to key the surface without levelling the history into oblivion. Use fine screens, vac extraction, and avoid over-eager edge work that planes off the gentle rounding you want to preserve.
Avoid sanding when:
- The finish is failing in flakes (it will keep shedding under a new coat).
- There’s significant contamination (silicone, polish build-up) that will cause fisheyes.
- The blocks are uneven from structural movement—flattening them may slice through patina entirely.
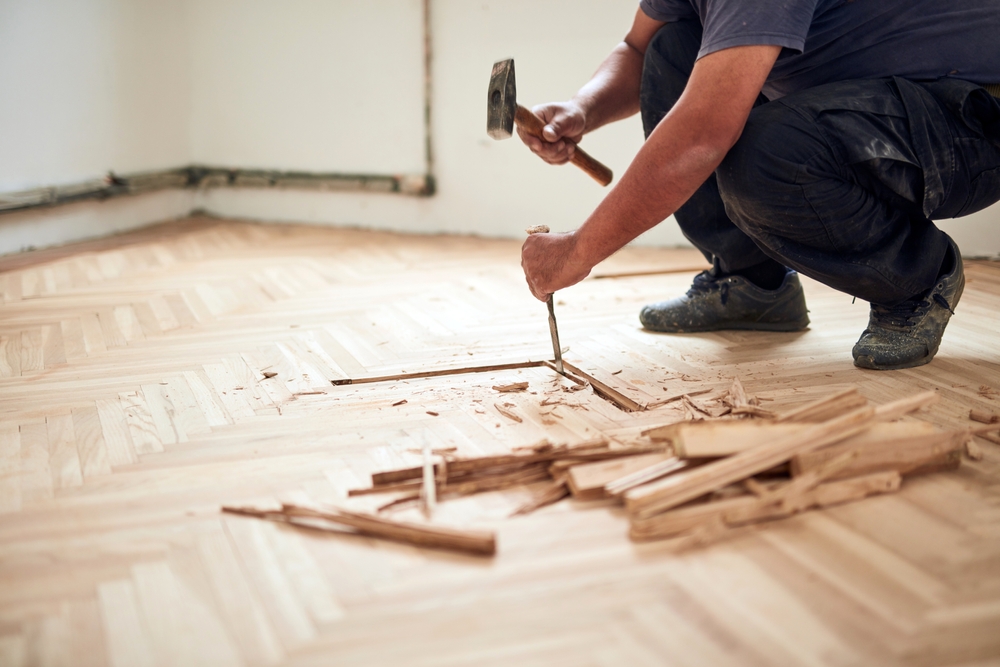
In those cases, selective lift-and-relay, deeper stripping, or local block replacement may precede any sanding at all.
Adhesive and subfloor realities in period properties
Many mid-century parquet floors sit on bitumen. Bitumen can be stable, but it complicates modern adhesive choice. Best practice often involves:
- Mechanical removal of brittle, high ridges without chasing stain into the wood.
- Bitumen-tolerant primers to isolate any residue from new adhesives.
- Elastic, moisture-tolerant adhesives for relay work, allowing seasonal movement.
Where subfloors are plank or board rather than screed, run moisture checks and fix squeaks from below if possible. Quiet floors read as quality—even before anyone notices the pattern.
Repair versus replace: a decision framework
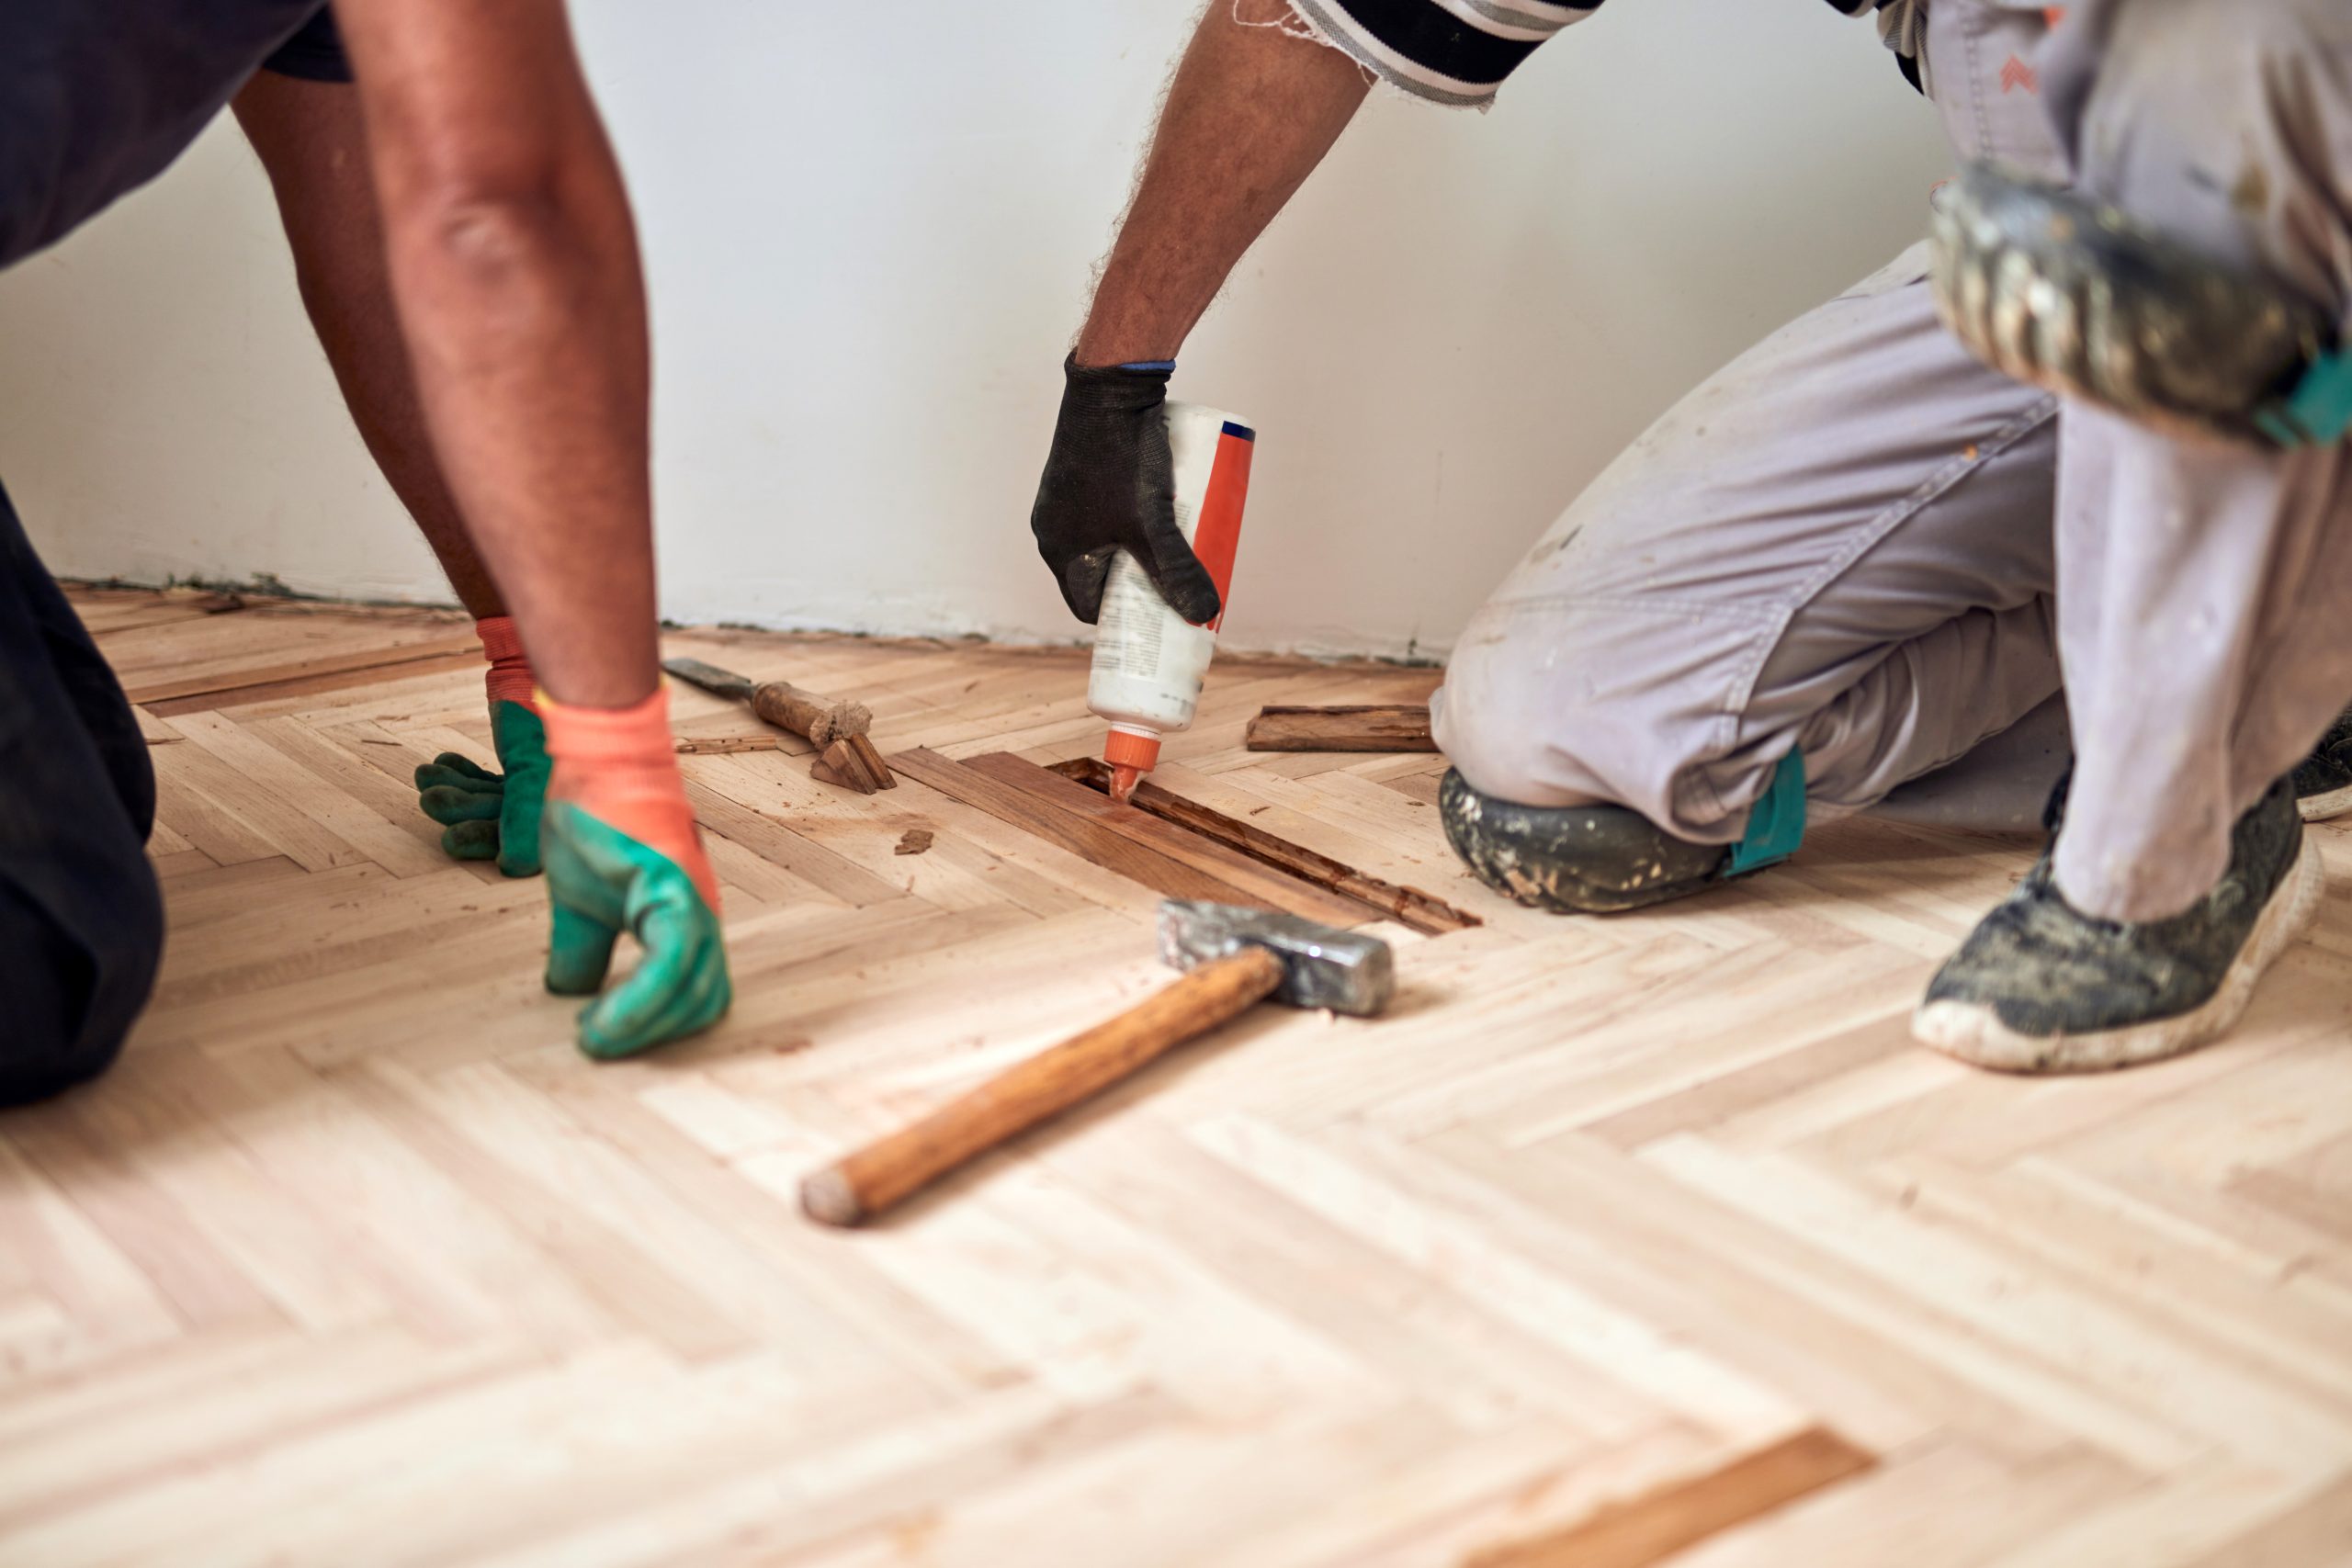
Replacement is sometimes unavoidable—fire damage, severe rot, or wholesale adhesive failure will push you there. But you can maintain integrity with like-for-like blocks: same species, thickness, and grain, feathered in, not patched as obvious islands. The aim is a repair that disappears in the rhythm of the field.
When clients ask whether to replace instead of repair, frame it in terms of identity and value. A repaired floor holds provenance, while an all-new one starts from zero. It’s why discerning owners increasingly opt to conserve Heritage Parquet: it protects both the fabric and the story of the property.
Colour: restore balance before you protect it
Colour management is 70% of the “wow” in period floors. Here’s a hierarchy:
- Cleaning and de-greasing to lift the grey veil that mutes contrast.
- Selective oxalic treatment to reduce black water marks; neutralise carefully.
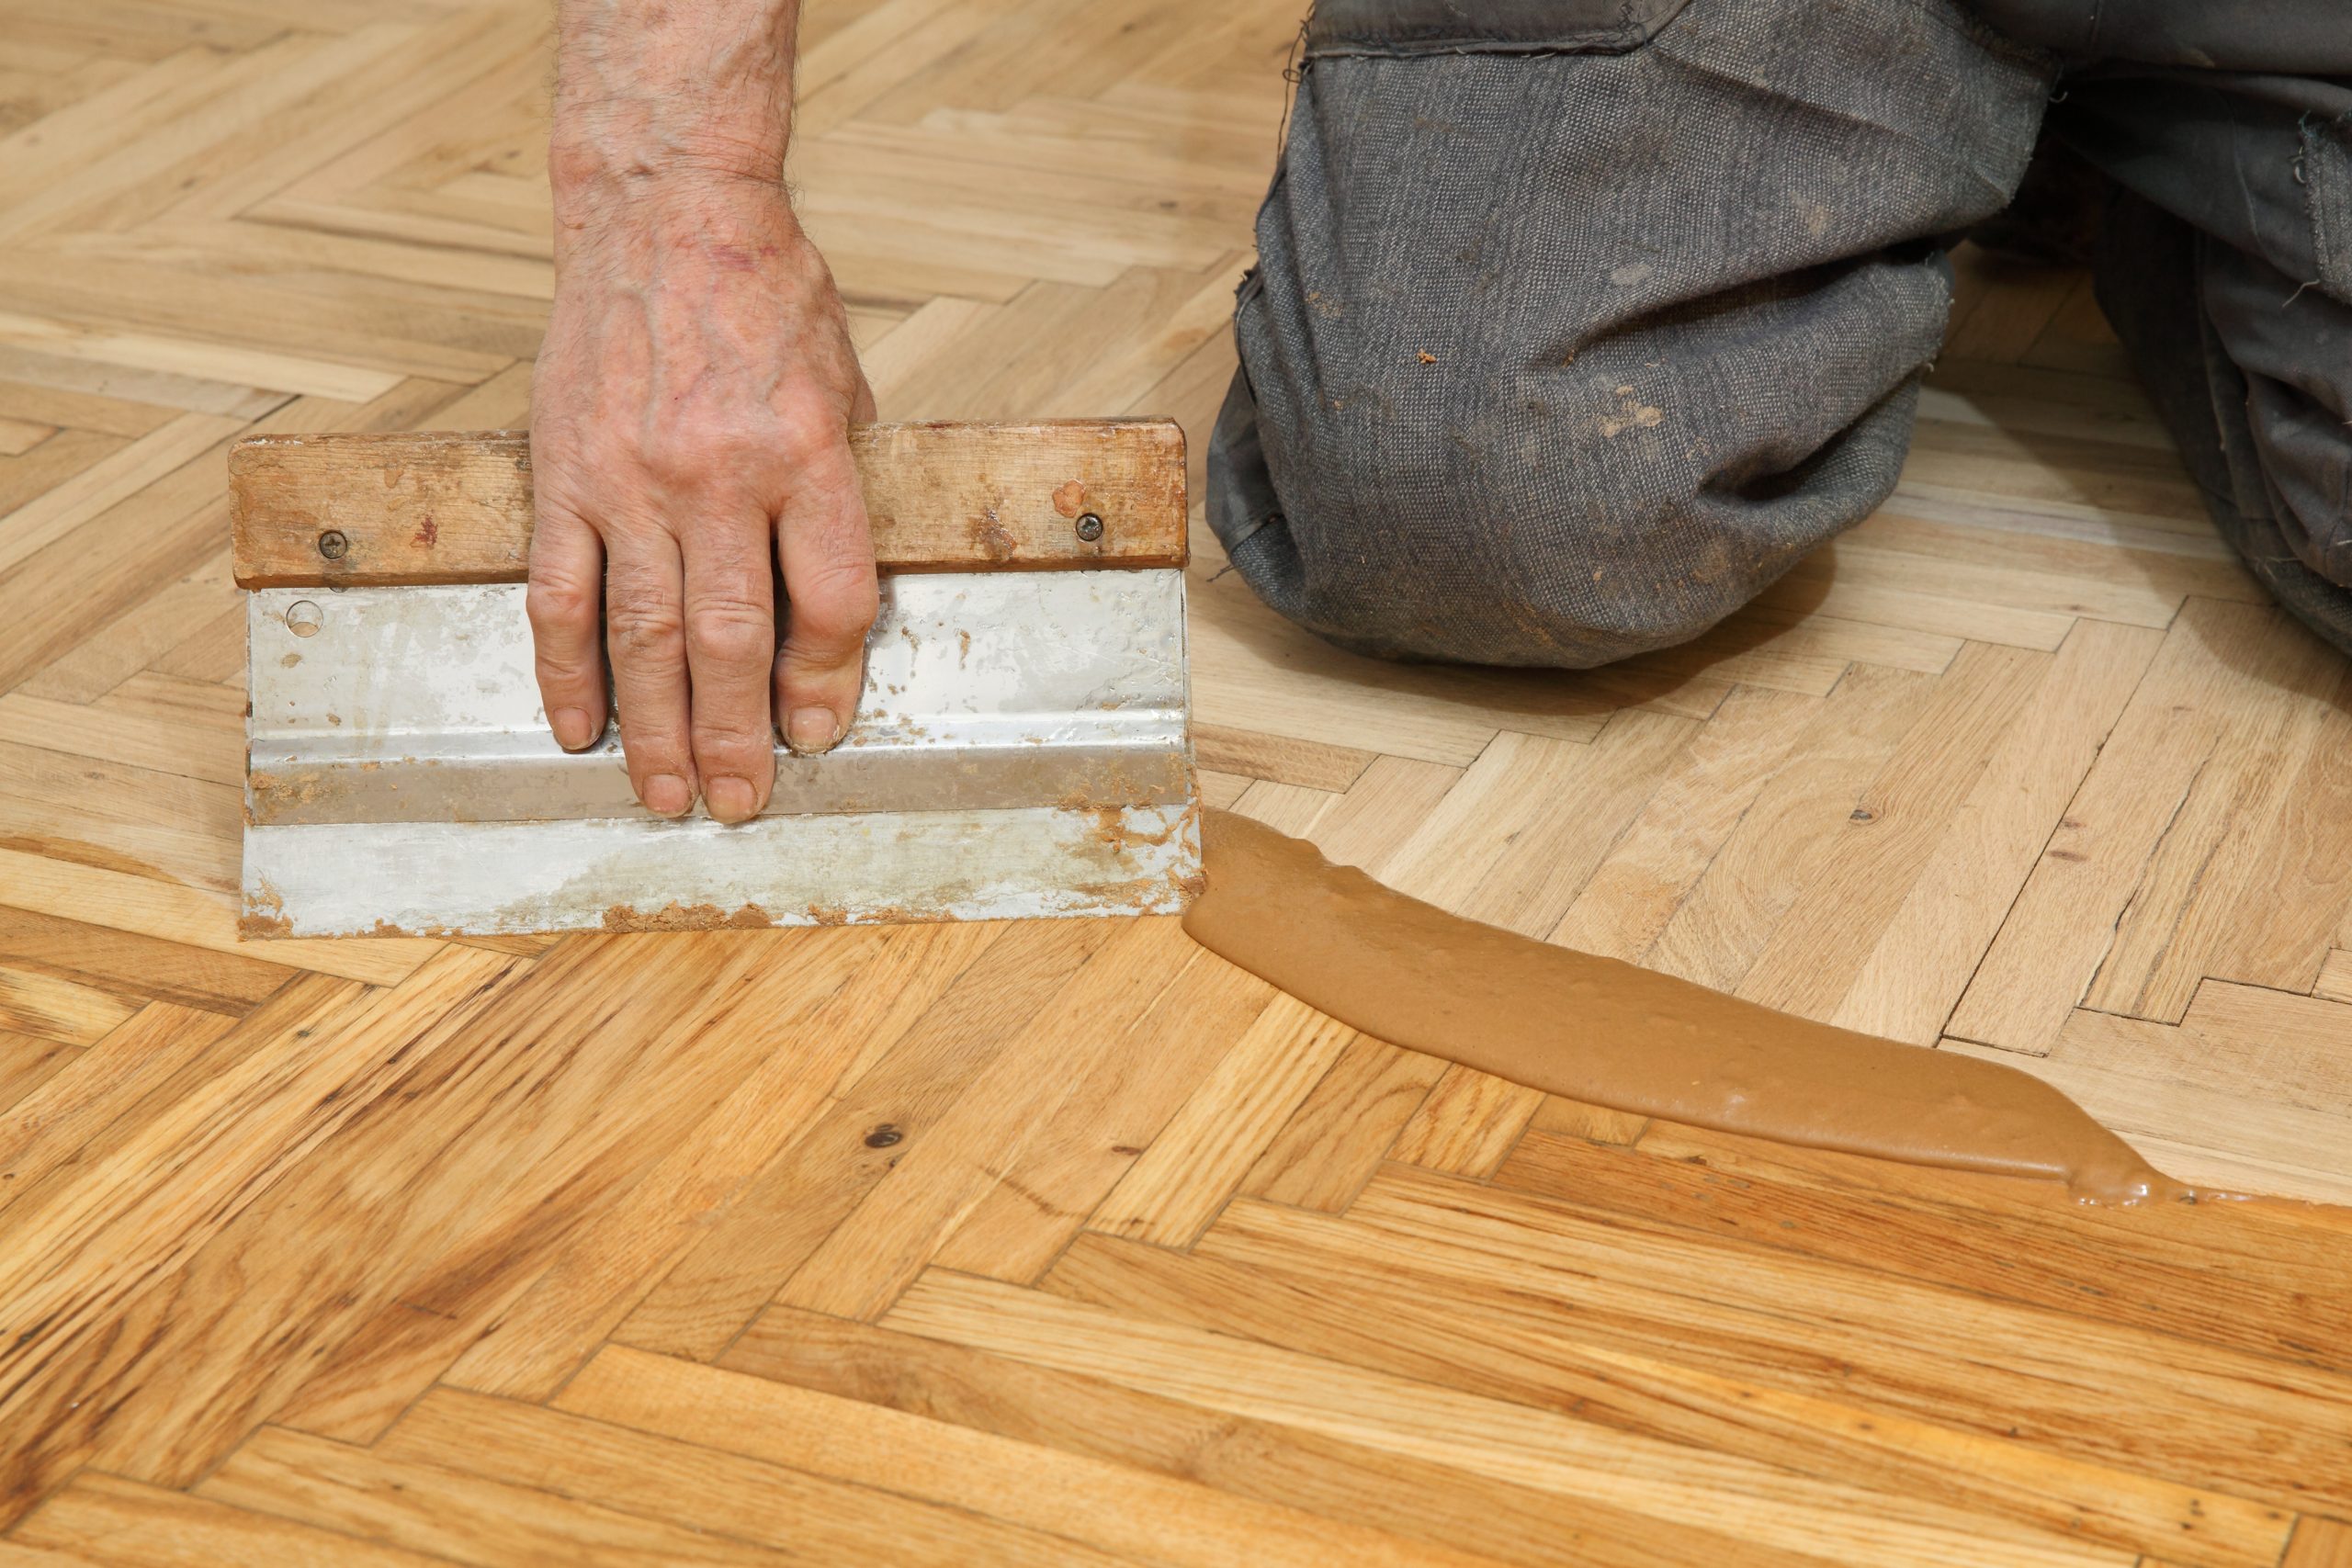
- Tonal glazing with pigment-in-oil or water-borne toners to even out sunfade.
- Test panels in hidden spots to preview sheen and undertone under different lights.
Aim for optical consistency, not uniformity. Let quieter variations breathe—that’s the difference between a floor that feels alive and one that looks spray-tanned.
Finishing for honesty: products that show, not smother
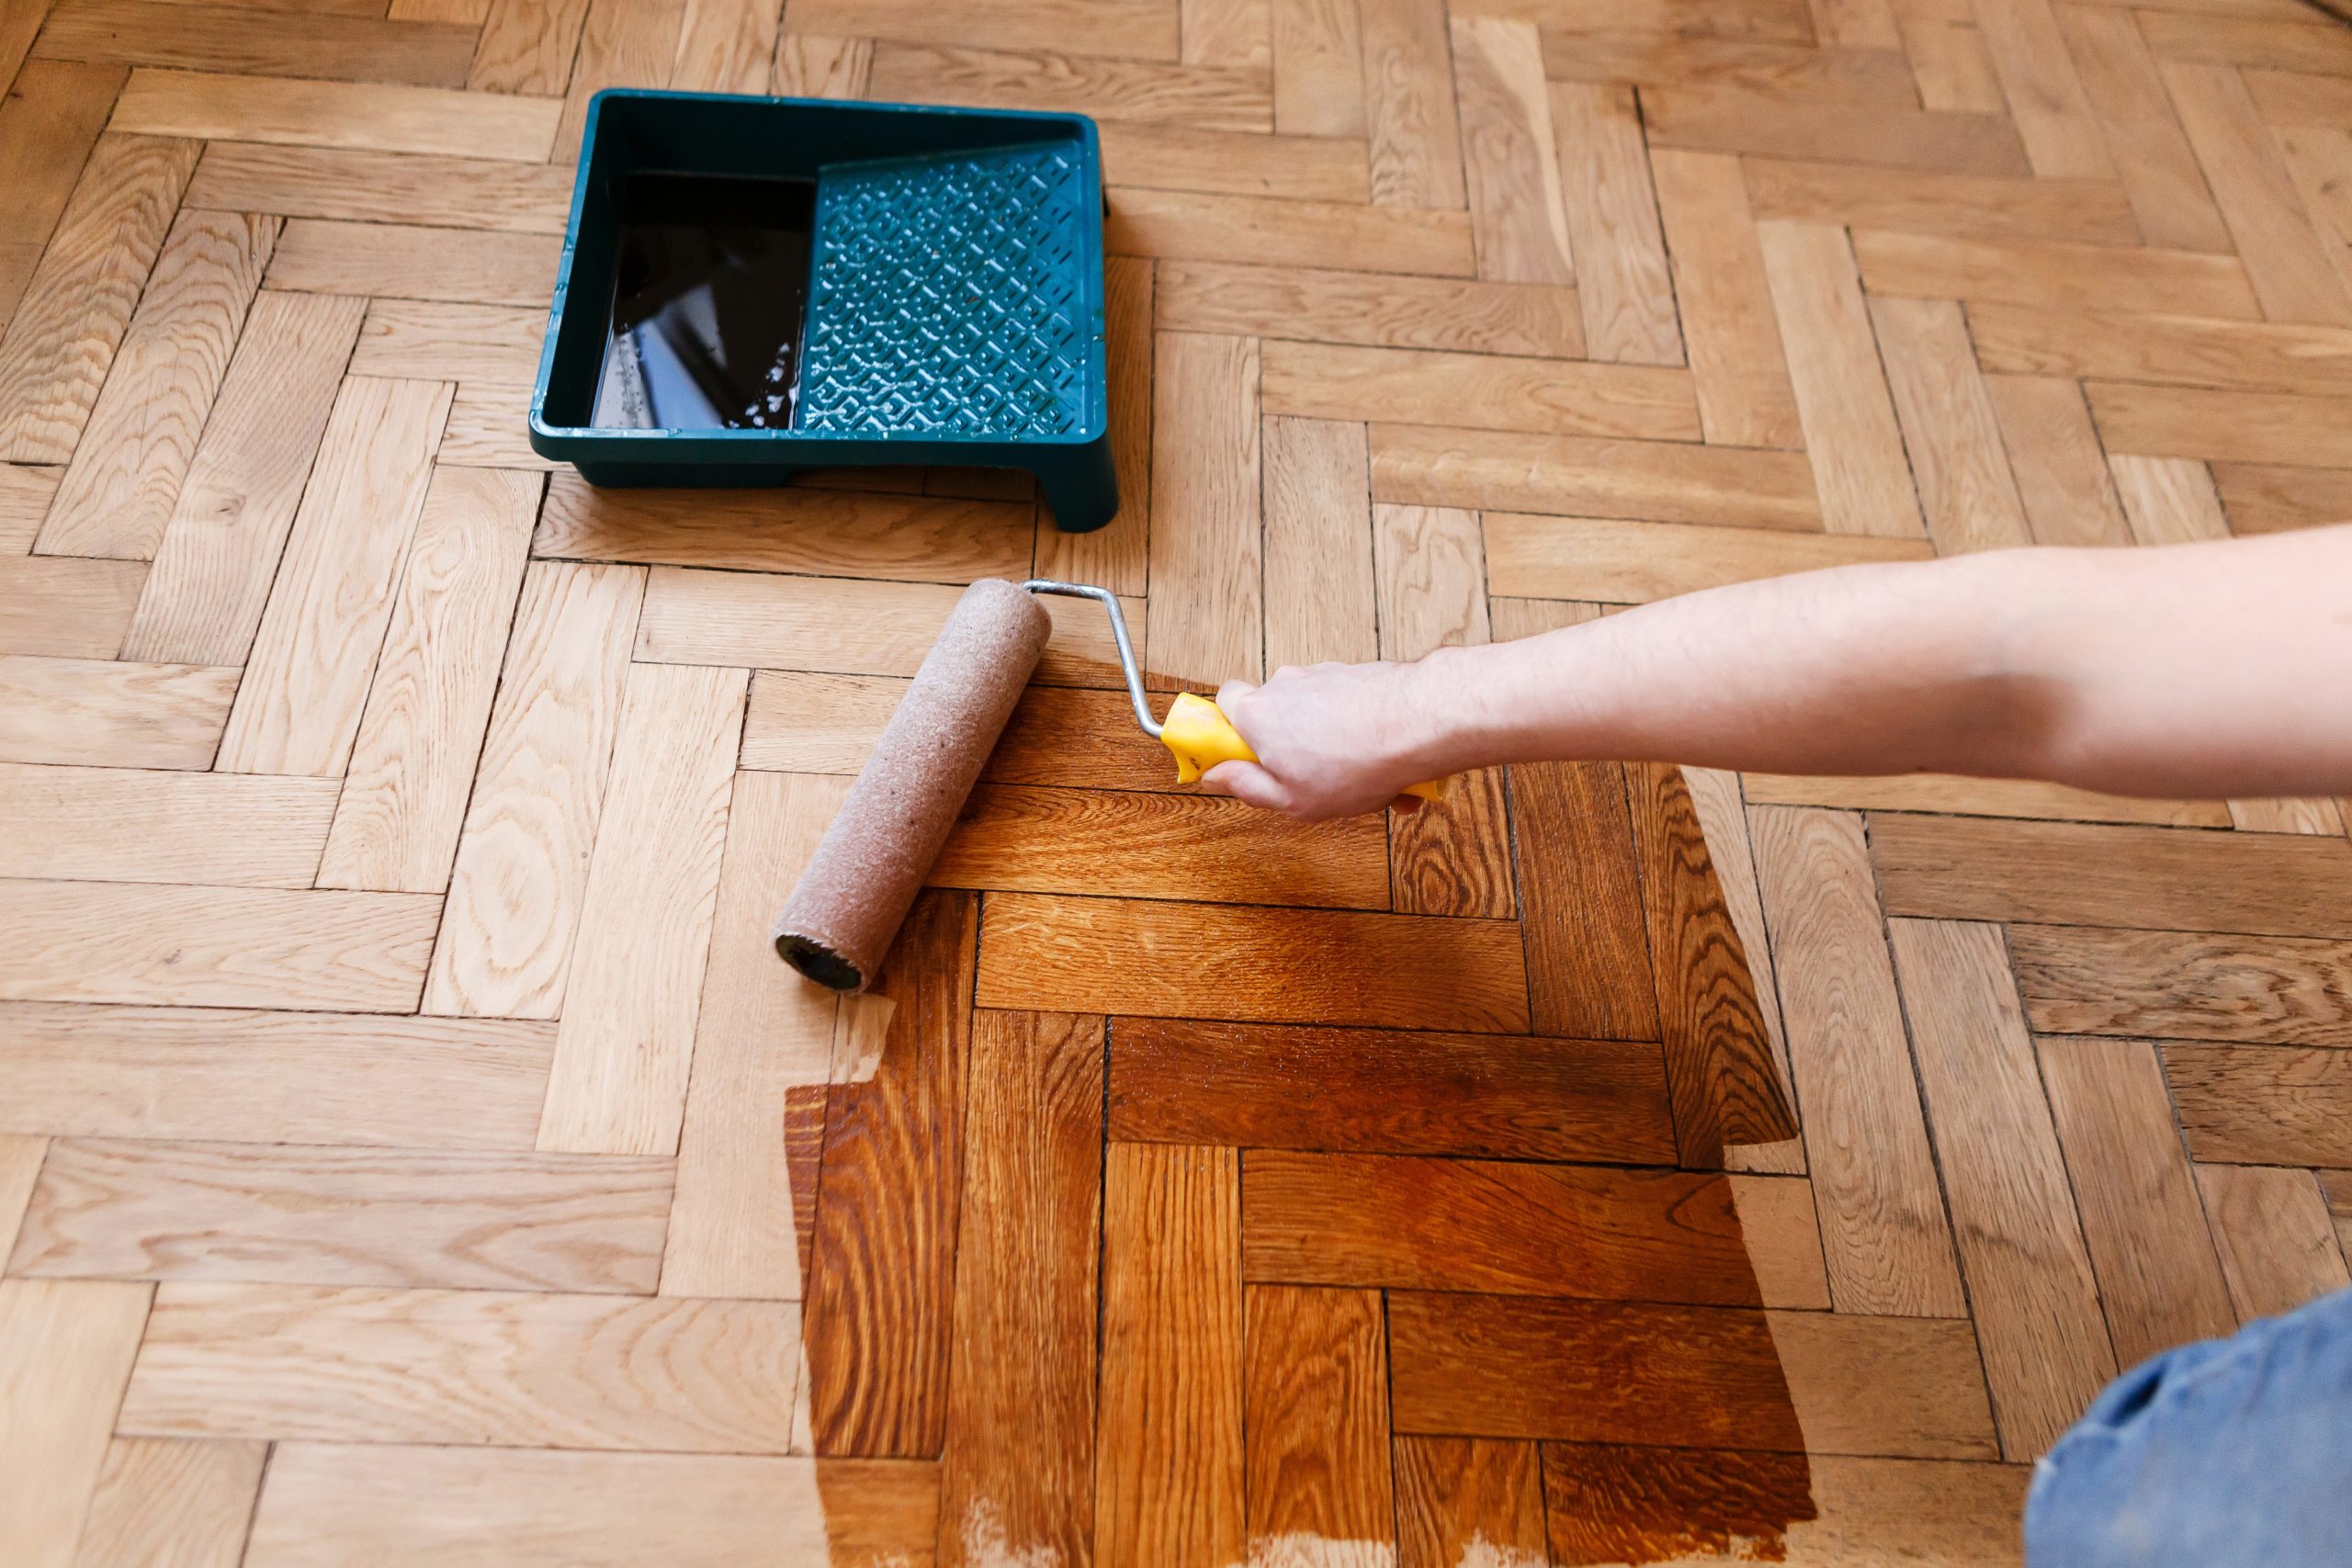
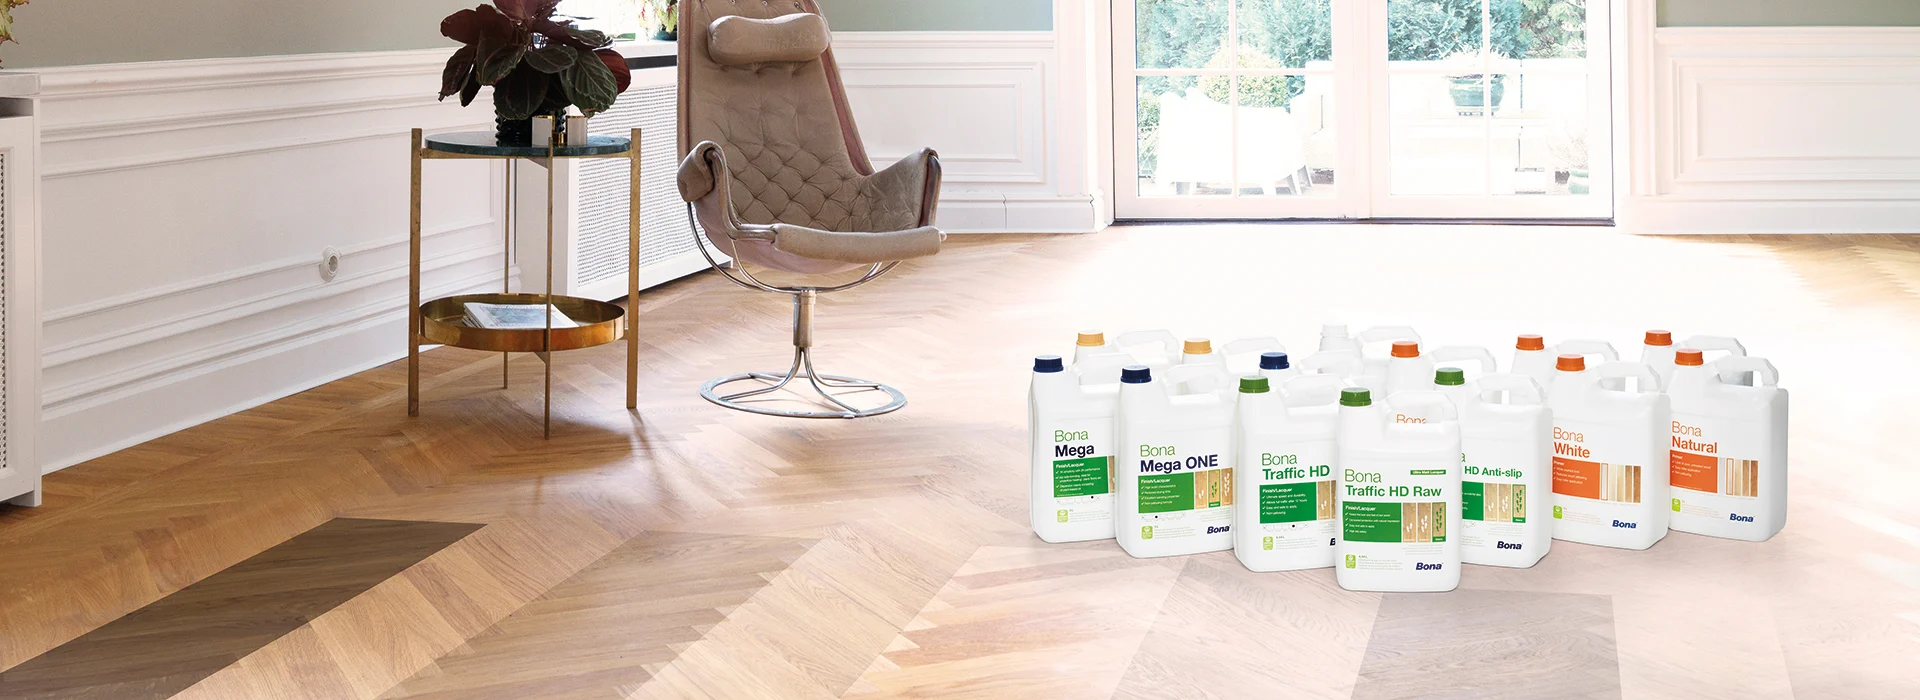
Period parquet rewards finishes that reveal grain rather than entomb it. Modern hardwax oils and low-sheen, two-component water-borne lacquers excel here. Consider:
- Hardwax oil for tactile warmth, easy spot repairs, and low build.
- Two-pack water-borne lacquer for higher traffic with a natural-matt look.
- Hybrid systems (oil prime, water-borne top) where depth and durability must coexist.
Whatever you choose, sheen discipline is key. High gloss magnifies defects; ultra-matt can look powdery. Most heritage interiors sing at “matt” to “satin-matt.”
Edges, gaps, and the art of restraint
Edge integrity drives the reading of the whole floor. If arrises are crumbly, consolidate with thin viscosities before you even think about filler. For gaps:
- Resin-dust slurry matches colour well but can crack in seasonal movement if overused.
- Elastic gap fillers move better but may not take stain identically.
- Sliver work (tiny timber slips) is the gold standard where width justifies it, especially in feature lines.
Remember: filled gaps are visual punctuation, not a solid wall. Overfilling can make patterns feel drawn with a marker pen.
Acoustic comfort without compromising authenticity
Upper-storey parquet often amplifies footsteps. Where you can’t rebuild from beneath, consider:
- Strategic rugs in echo zones (entries, corridors) chosen for breathability.
- Discrete perimeter seals to limit whistling drafts and rattles.
- Targeted subfloor works from below (in accessible cellars) adding acoustic membranes without disturbing the finished surface.
Sound is part of experience. Solve it and the floor feels refined even before anyone registers why.
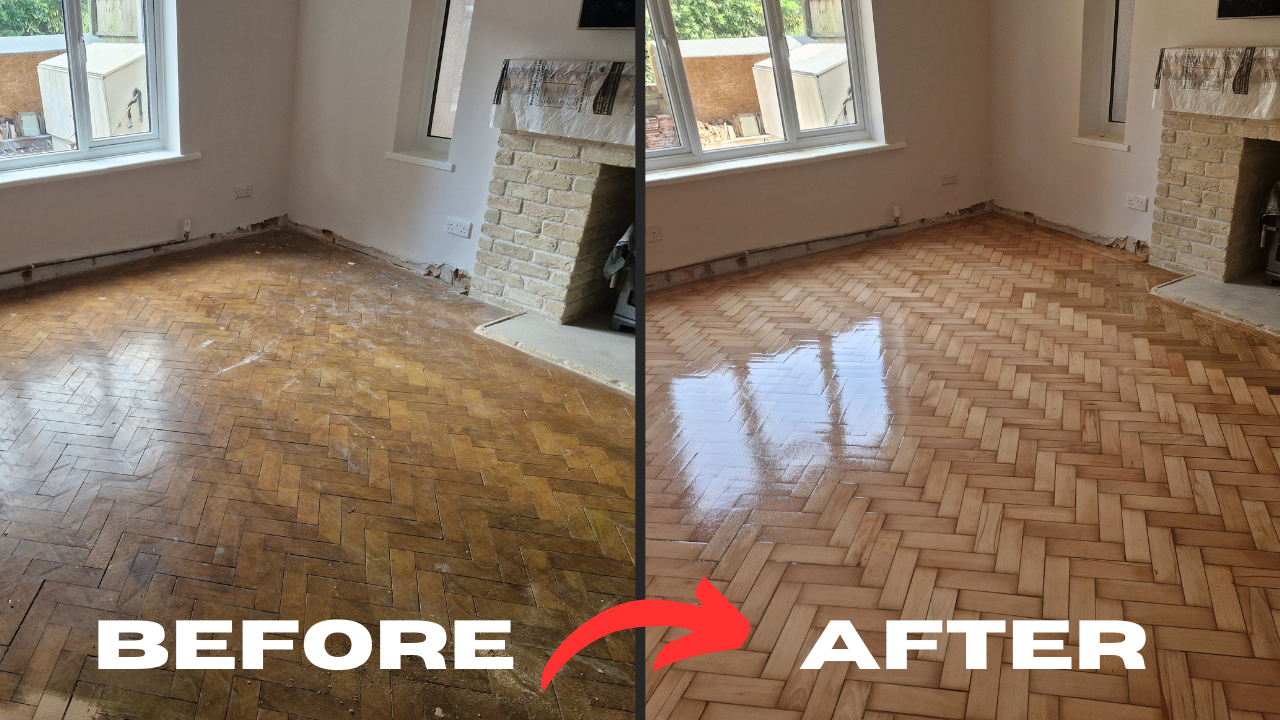
Case study: saving a century in a week
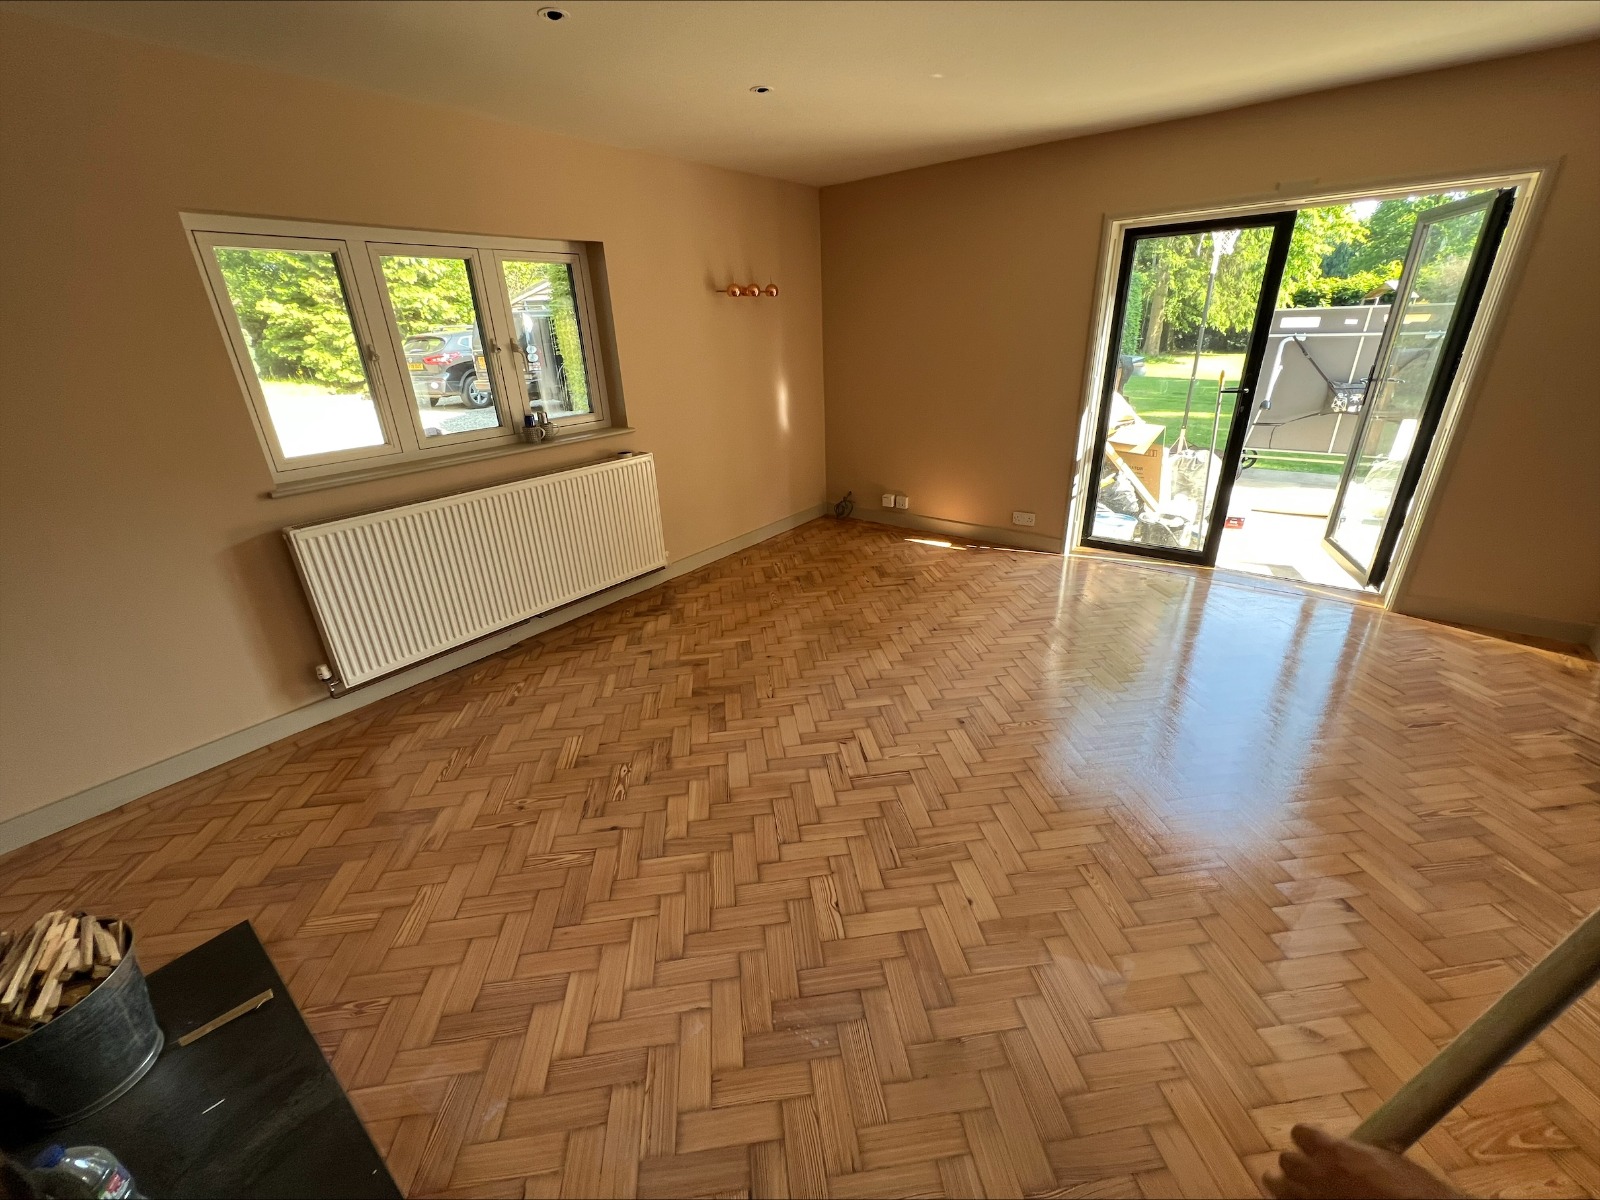
A 1920s herringbone in a terraced hallway presented with drumminess along the threshold, grey traffic lanes, and scattered black rings from wet umbrellas. The brief was conservative: keep the glow, lose the grime and wobble.
Process snapshot
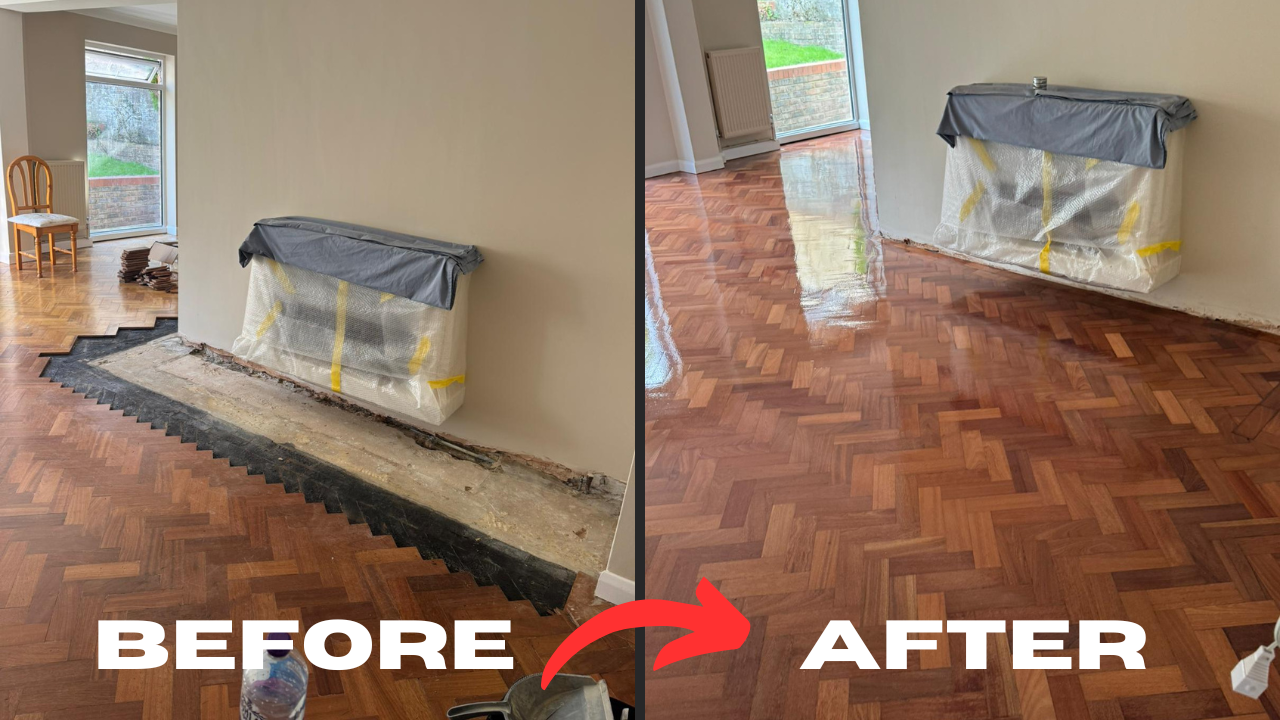
- Day 1: Audit, then lift and relay 24 loose blocks with bitumen-tolerant adhesive after light residue scrape.
- Day 2: Intensive clean and pH-neutral rinse; oxalic reduction of two severe water burns; overnight dry.
- Day 3: Tonal glazing to knit sun-faded patch by the door; micro-screen at 150 grit to key intact finish.
- Day 4: Prime with penetrating oil; top with two coats of matt two-pack lacquer for wear.
Outcome
- The gentle shimmer returned without flattening the age.
- Repairs disappeared into the pattern.
- The first thing the owner noticed wasn’t the colour—it was the hush: no more threshold thud.
This is the promise of Heritage Parquet done right: the room feels itself again, only better behaved.
Preventive care: habits that protect patina
A maintenance plan is the cheapest insurance you’ll ever buy for period floors.
- Entrance discipline: decent matting traps grit before it becomes sandpaper.
- Chair glides: felt pads on anything that moves. Swap them often; felt becomes a grit sponge.
- Cleaning cadence: dry dusting weekly; damp microfibre with wood-safe cleaner when needed; no steam mops.
- Sheen refresh: light abrasive and recoat every few years for lacquer; local oil top-ups for hardwax systems.
- Humidity sanity: 40–60% RH keeps blocks calm through the seasons.
Owners who adopt these habits report a delightful paradox: the floor seems to age less, even as it grows older.
Working with specialists: what to ask before you hire
Not every contractor understands conservation-led work. Shortlist with these questions:
- What’s your approach to minimal intervention? Listen for cleaning, testing, and consolidation before sanding.
- How do you handle bitumen residues? They should describe isolation primers and adhesive compatibility.
- Can I see test patches? Insist on colour and sheen previews under your room’s light.
- What’s your plan for loose or drummy sections? Expect talk of lift-and-relay, not just “we’ll sand it flat.”
- How will you control dust and odour? Quality vac extraction and low-VOC products should be standard.
A good specialist will argue for keeping more than you expected—then surprise you with how new the floor feels once the dirt and defects are gone.
Budgeting realistically (and cleverly)
Conservation-led projects aren’t always cheaper than replacement on day one, but they often win on total value. You preserve embodied carbon, period detail, and resale appeal; you also avoid collateral damage to skirtings, thresholds, and adjoining finishes. Where money is tight:
- Phase the work: stabilise and clean now; colour balance and topcoat later.
- Target the worst rooms first: circulation spaces yield the biggest visual return.
- Choose maintainable finishes: systems you can refresh without moving out.
When framed as stewardship rather than mere renovation, the spend feels proportionate to the significance of the result.

Common pitfalls (and how to avoid them)
- Over-levelling: flattening centuries into anonymity. Leave the micro-undulations.
- Shine wars: chasing gloss when the architecture begs for matt.
- All-in gap filling: creating cartoon outlines. Fill for function, not for graphic effect.
- Skipping adhesion tests: a small compatibility test can save a large failure.
- Ignoring thresholds: they’re the first place to creak and the first thing guests feel.
Each pitfall boils down to one idea: don’t mistake effort for excellence. The best work often looks like you did very little—because you had the discipline to stop in time.
Frequently asked questions
Will the floor look “new” after conservation?
No—and that’s the point. You’ll get crisp cleanliness, coherent colour, tight blocks, and a durable protective film, but the graceful evidence of age remains. The room will read as cared-for, not reset.
How long does the work take?
Small rooms can be stabilised and protected in a few days; complex relay and colour work takes longer. Drying windows depend on product choice and humidity. Build contingency into schedules, especially in winter.
Can you match missing blocks exactly?
Usually very closely. Species, grain, and cut matter most. Once installed, toned, and finished, replacements disappear—particularly in busy patterns.
What if I’m planning a kitchen or heating upgrade?
Sequence flooring alongside wet trades and heavy installs. Protect the parquet with board-on-board sheeting, not plastic that sweats. Keep humidity controlled, especially around underfloor heating.
Is conservation worth it before selling a home?
Yes. Buyers read a calm, quiet, well-finished floor as a signal of overall care. Many sellers now choose Heritage Parquet conservation precisely because it lifts the whole property narrative without tearing the house apart.
The philosophy in one sentence
Conserve the truth of the material and the room will reward you with atmosphere that money can’t simply buy.
Next steps
If your parquet is rich in potential but shabby in places, start with a proper audit and a cleaning-led trial on a small zone. See how much returns with almost no loss of fabric. From there, stabilise what’s loose, recolour where it’s faded, and protect with a finish that lets the timber speak. That’s the quiet, intelligent route to floors that feel right from the moment you step into the room—a calm depth, a soft lustre, and the gentle confidence of age well cared for.
And remember: the goal isn’t perfection. It’s presence. When you keep the patina and lose the damage, you keep the soul of the house under your feet.