Expert Tips for Sanding Victorian Pine Floors in Isleworth
Step into almost any period property in Isleworth and you’re likely to find time-worn, pine or pitch-pine floorboards hiding beneath carpets or laminate. These boards—many laid between the 1880s and early 1910s—were never intended to be on show. Yet, when stripped back and skilfully restored, they add authentic warmth that no modern covering can match. In recent years, local homeowners have been embracing Transforming Victorian Boards to rescue their original planks, injecting fresh life into rooms while preserving the district’s architectural heritage.
Whether you’ve just purchased a late-Victorian terrace near St John’s Road or are refreshing a riverside villa off Church Street, the transformation from scuffed boards to gleaming timber is genuinely dramatic. This article walks you through every stage—inspection, repair, sanding, finishing, and after-care—so you can make informed decisions and avoid the pitfalls that leave many DIYers regretting they ever picked up a belt sander.
1. The Enduring Appeal of Victorian Floorboards
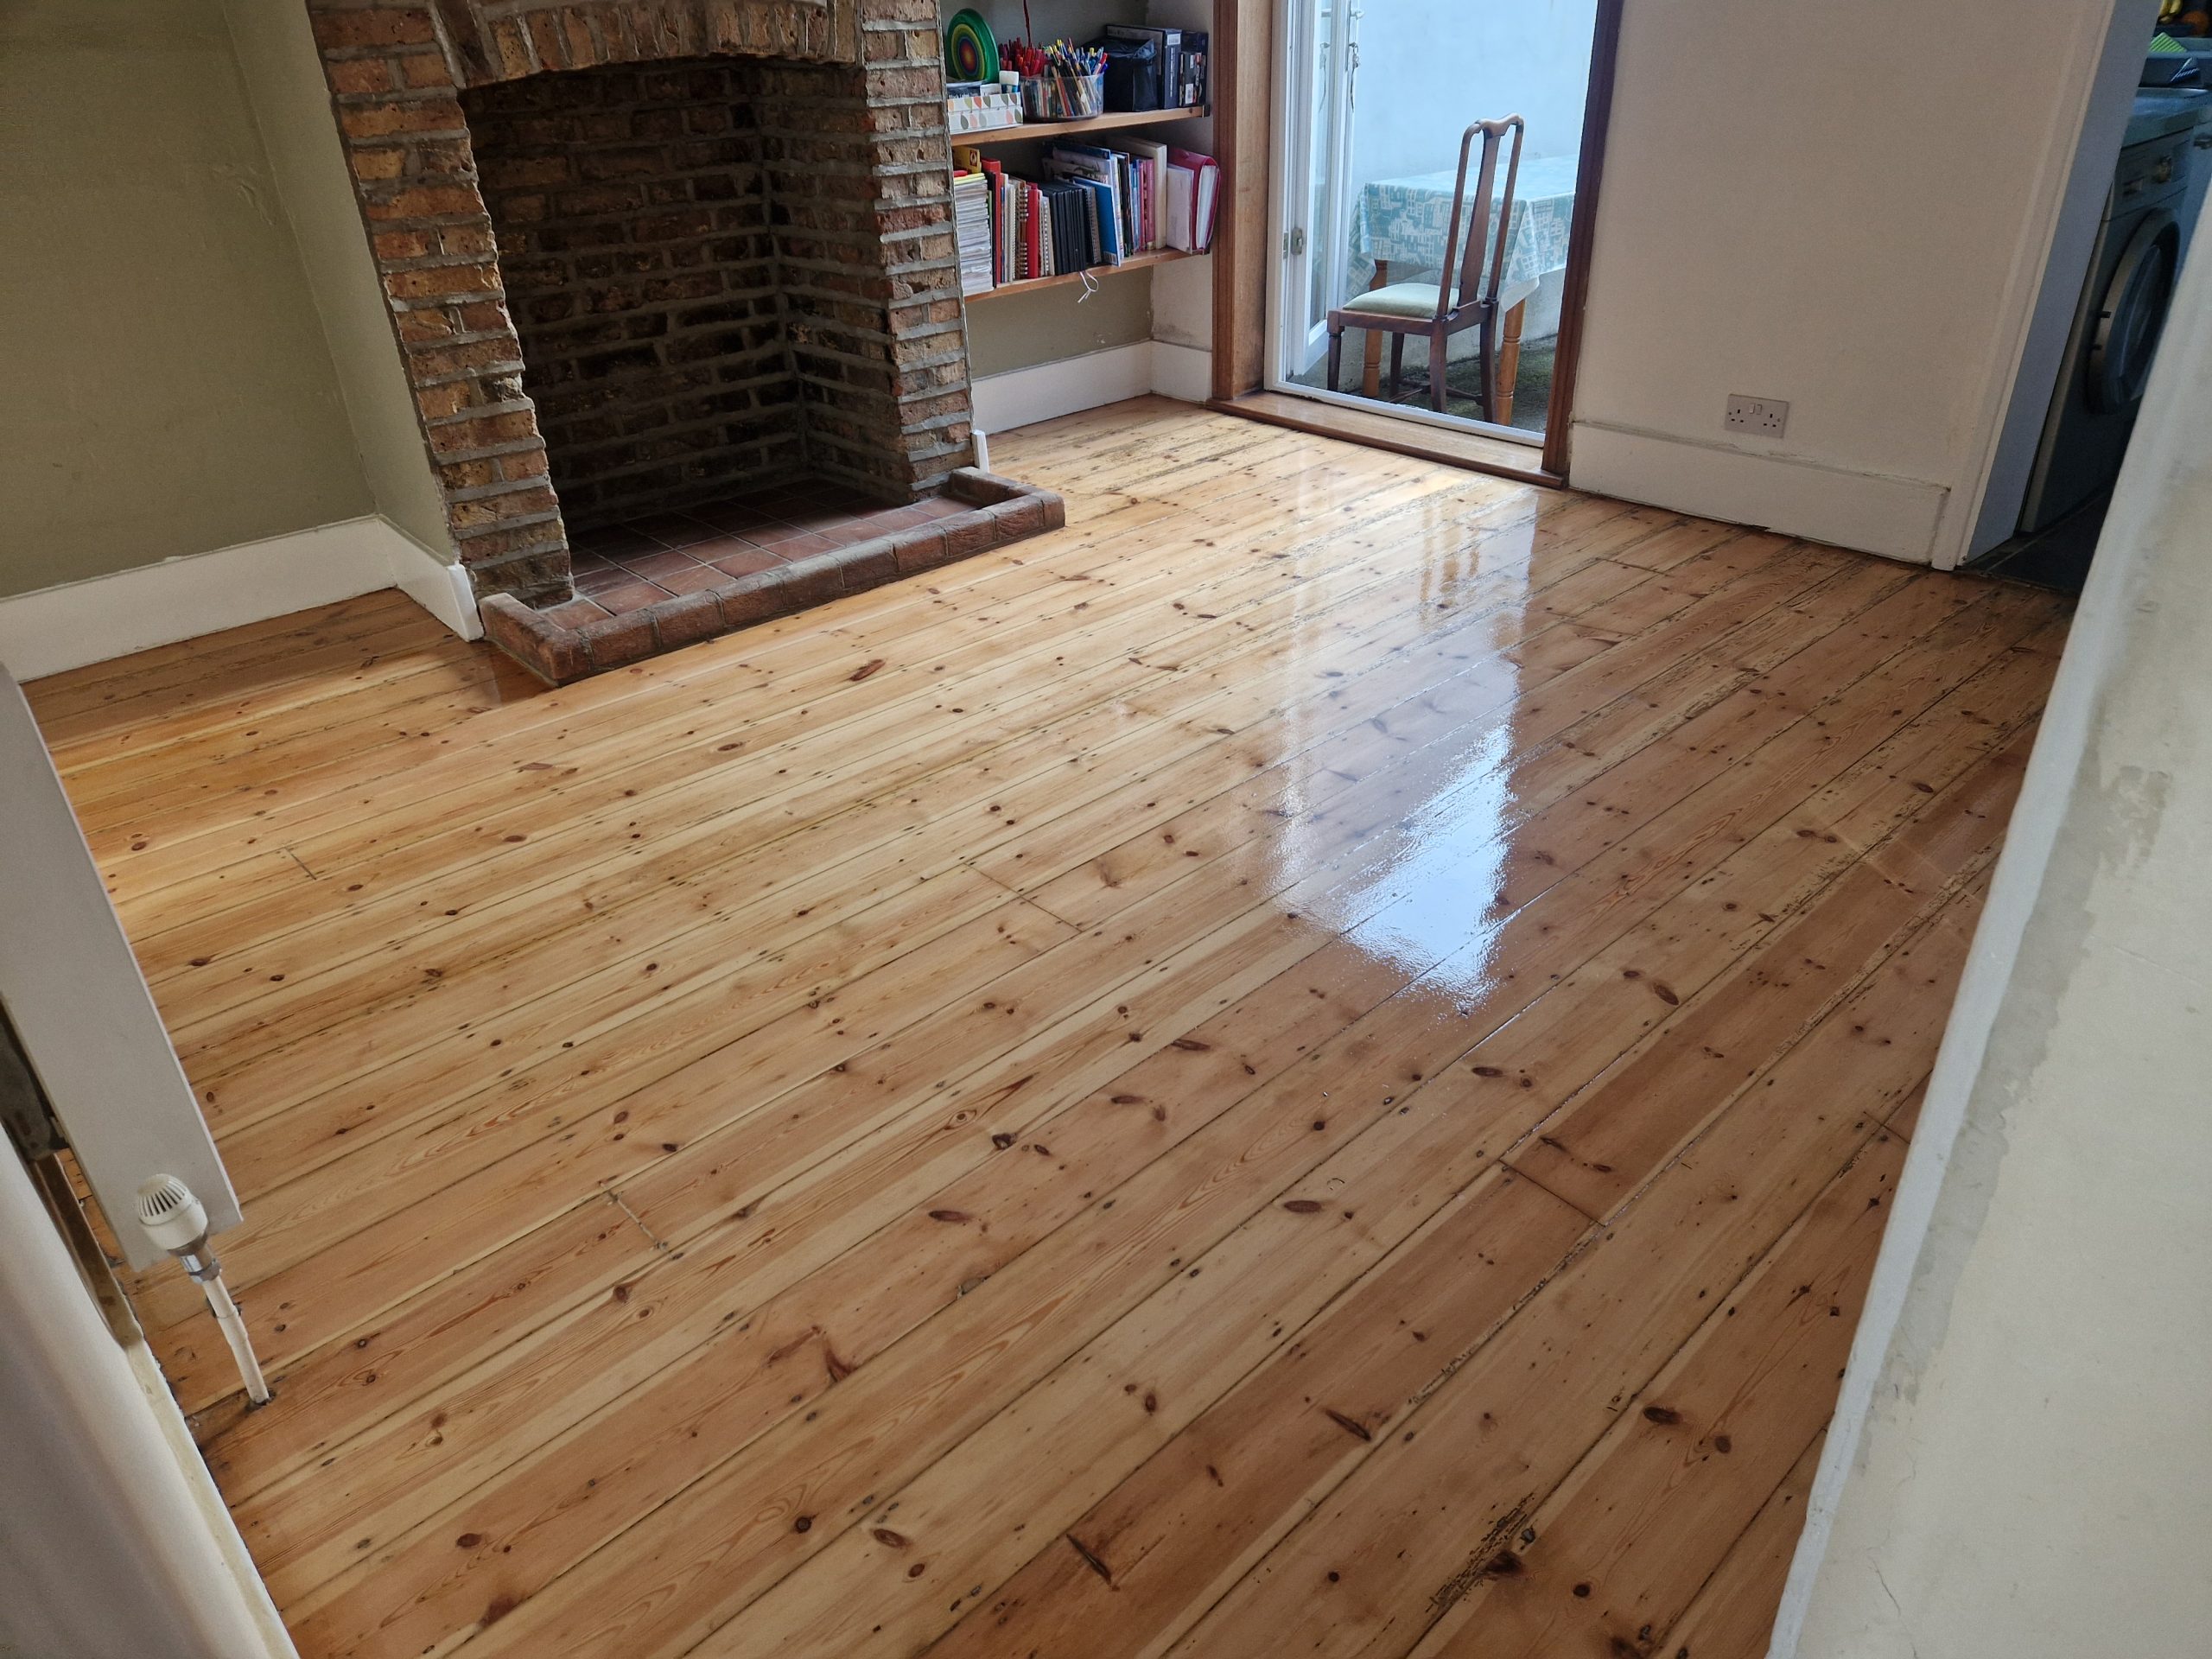
Victorian-era boards are typically wider (140 – 178 mm) than modern softwood, with tight growth rings that gift each plank its characterful grain. Over decades they develop a mellow honey hue that synthetic flooring struggles to imitate. Retaining original timber also appeals to sustainability-minded residents; by re-using what’s already there you save mature trees, reduce landfill waste, and lower the carbon footprint of importing new products.
Yet the boards’ greatest charm might be intangible. Original floors tell the story of every generation that has lived, worked, and played upon them, from nanny’s scurrying footsteps to wartime blackout parties. Restoring them respects that narrative, weaving your own chapter into Isleworth’s history while enjoying a stylish, robust surface beneath your feet.
2. Common Problems Found in Victorian Boards
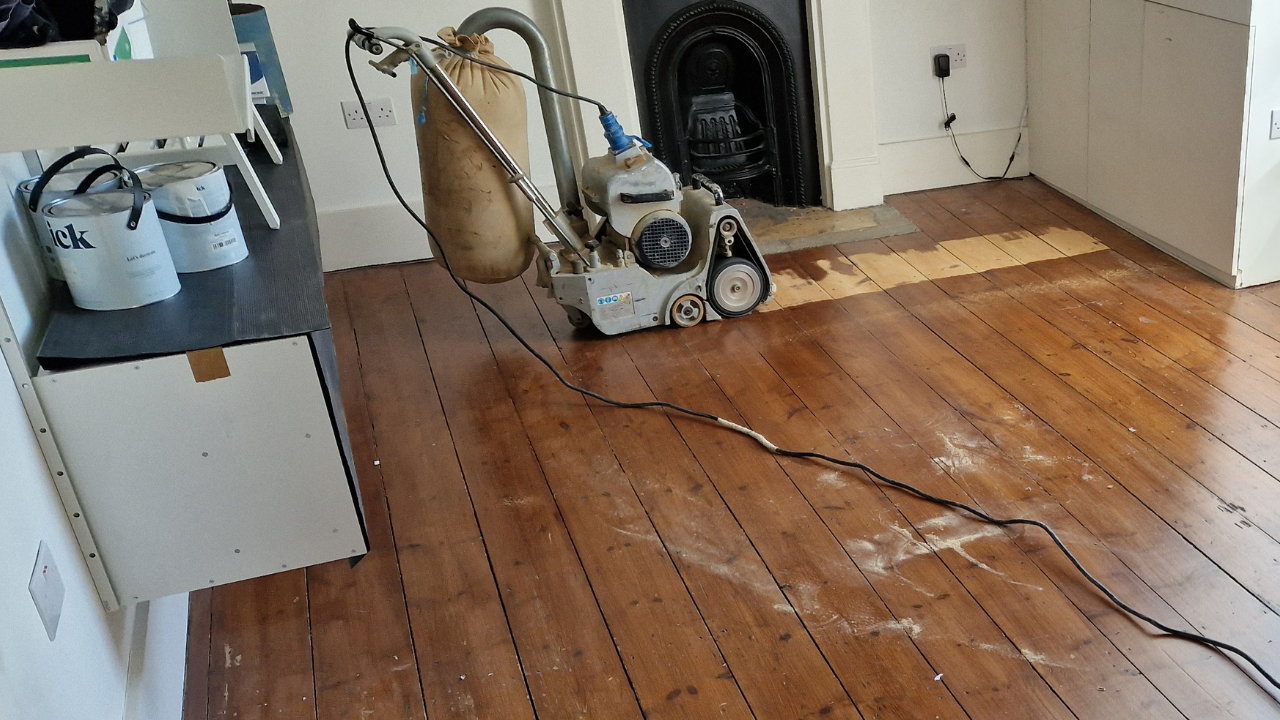
A century of use—and occasional neglect—inevitably leaves its mark. Typical issues include:
- Deep gouges and paint layers left by decades of decorating.
- Cupping and crowning caused by fluctuating indoor humidity.
- Split tongue-and-groove edges where boards were hastily lifted for plumbing.
- Loose nails and squeaks bred from constant foot traffic.
- Gaps that allow draughts and heat loss.
Addressing these defects is step one of any successful Transforming Victorian Boards project. Ignoring structural faults simply means you’ll be sanding an unstable surface that can shift, buckle, or break open again within months.
3. Preparing Your Boards for Revival
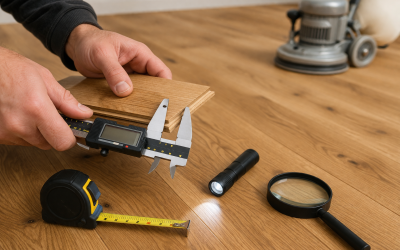
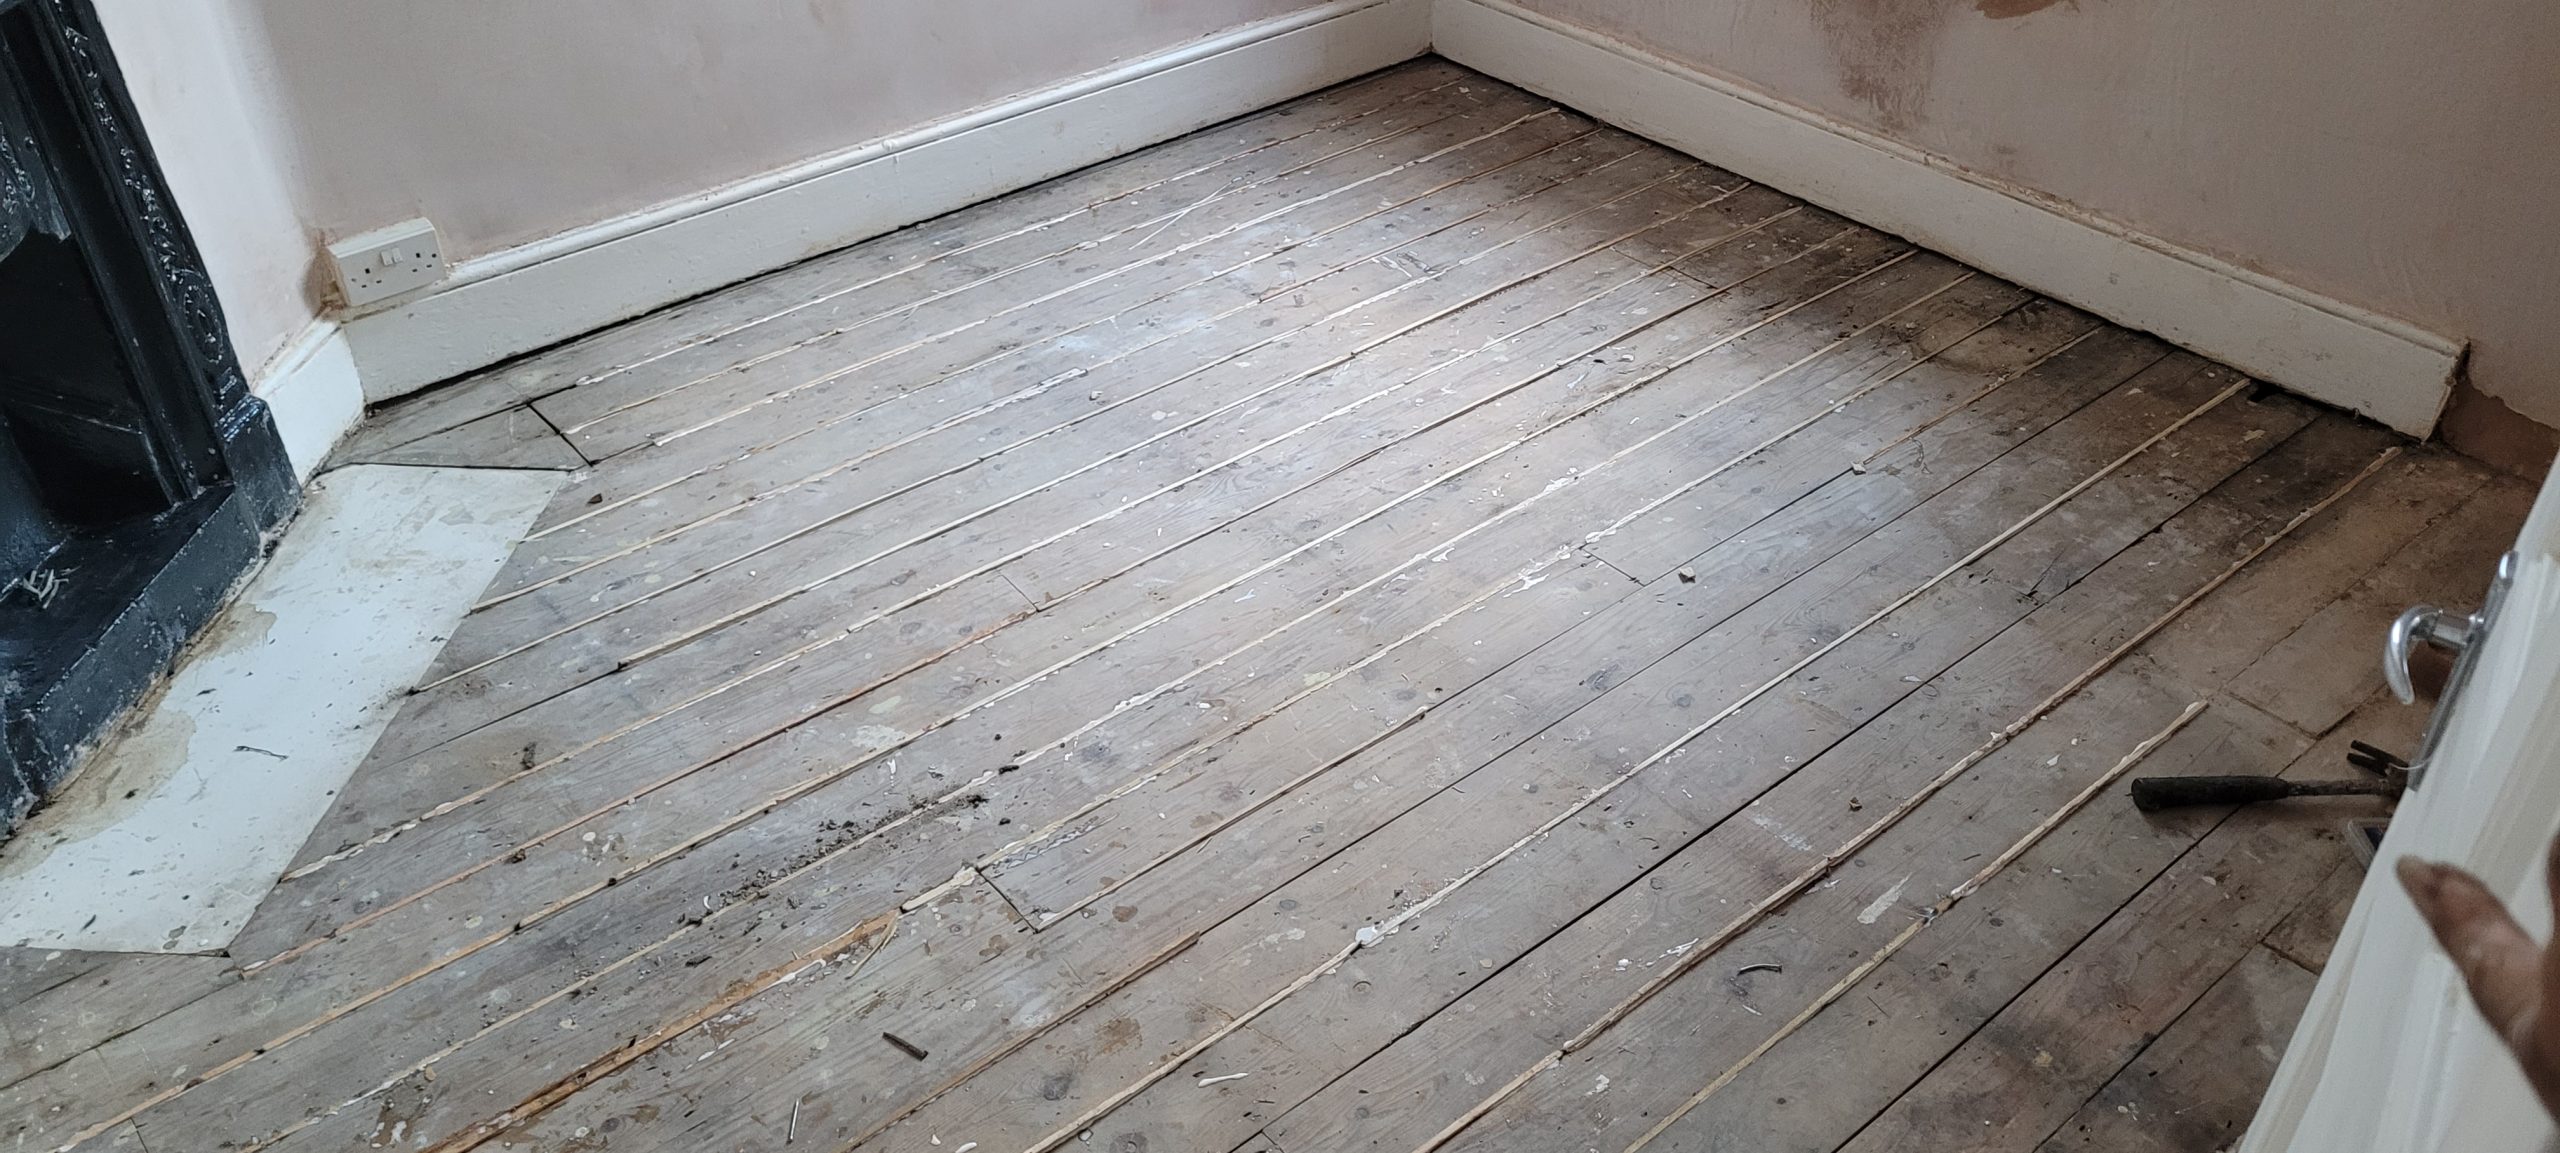
Before machinery roars into life, preparation is paramount. Start by lifting skirting boards carefully—Victorian mouldings fetch high prices at salvage yards and are worth preserving. Number each piece so re-installation is pain-free. Next, punch every nail at least 2 mm below the surface; one protruding head can shred abrasive belts in seconds.
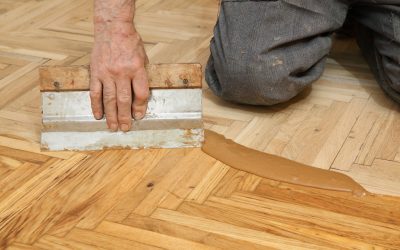
Replace rotten sections with reclaimed boards of matching species and width; new timber stands out like a sore thumb. Where gaps exceed 4 mm, consider kiln-dried pine slivers glued and planed flush after sanding. Vacuum thoroughly, then check sub-floor ventilation: blocked air bricks encourage damp, the bane of old softwood. With groundwork complete, you’re ready for the most visible stage of Transforming Victorian Boards—the actual sanding process.
4. The Sanding Journey: From Grit 36 to Satin-Smooth
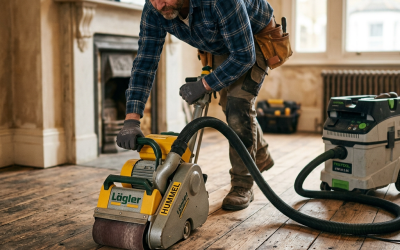
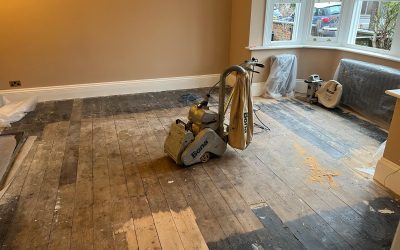
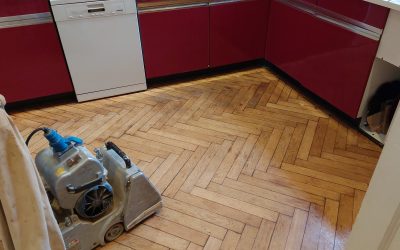
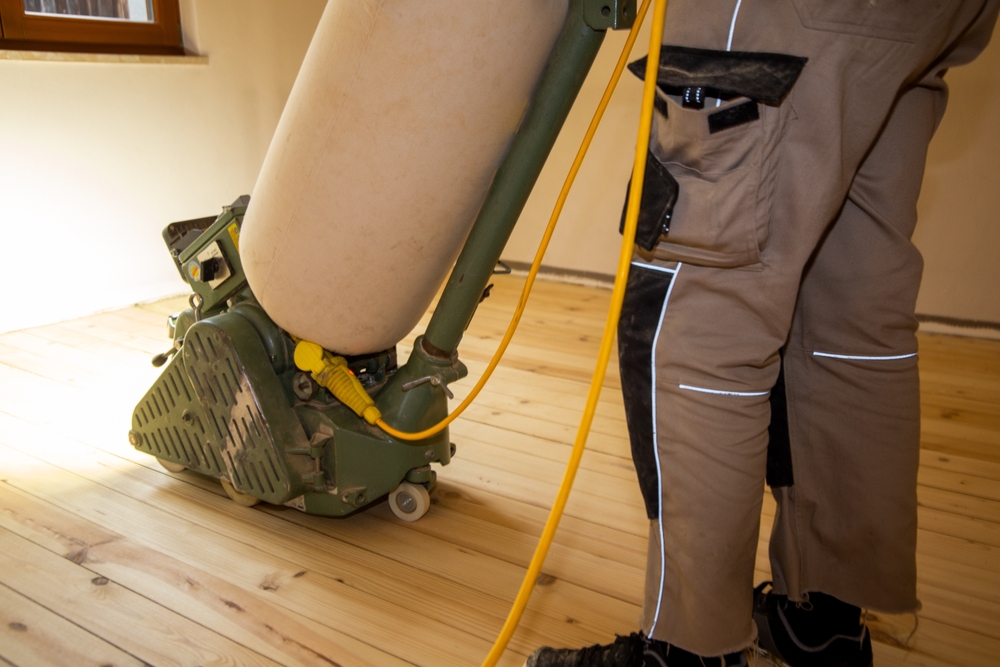
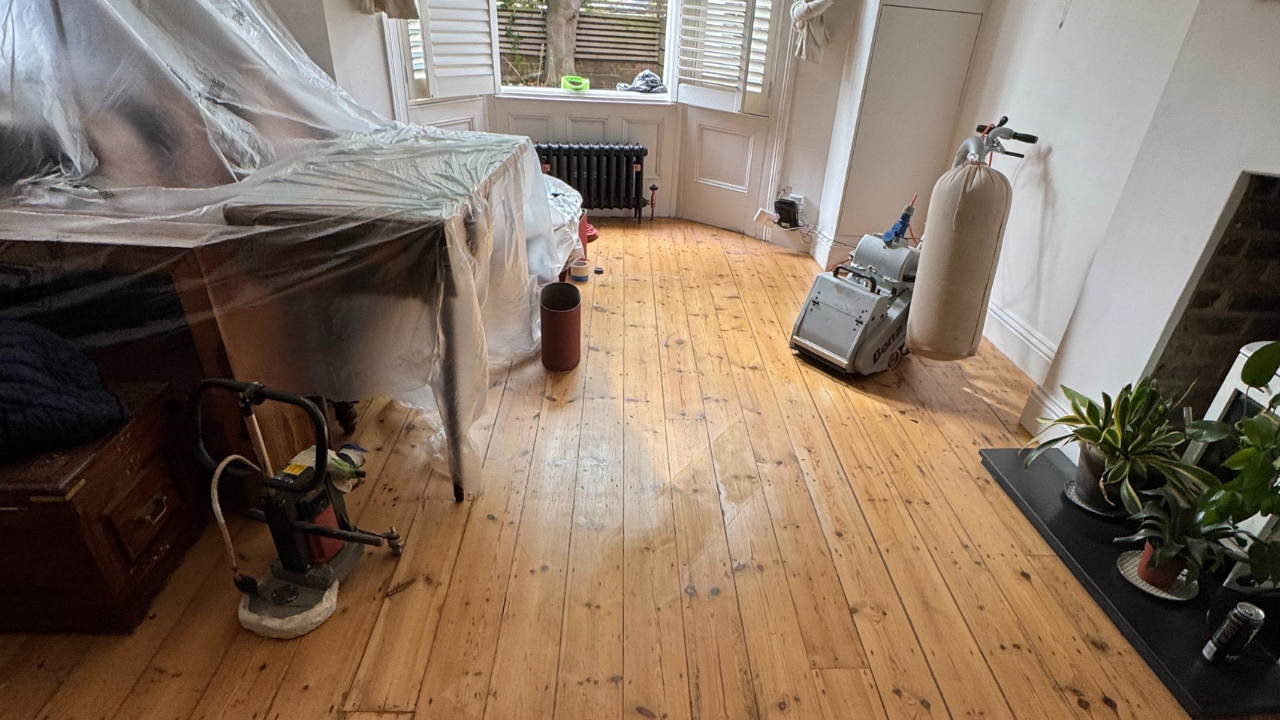
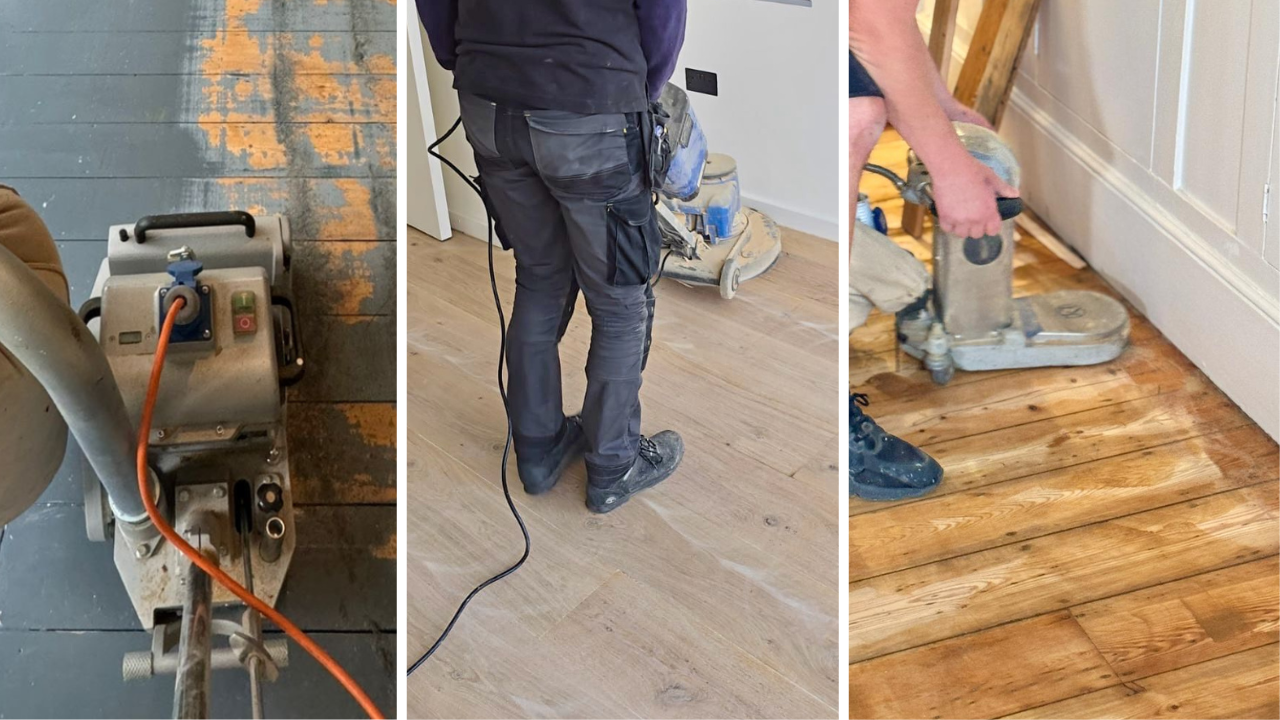
Professional teams use three machines in sequence:
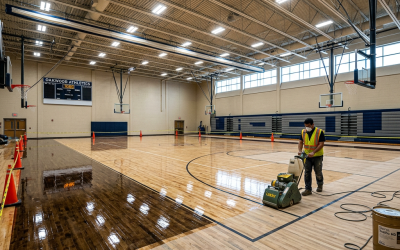
- Belt sander for the main body of the floor.
- Edger to reach perimeters the belt cannot.
- Corner or detail sander (sometimes a hand-held random-orbital) for fireplaces and alcoves.
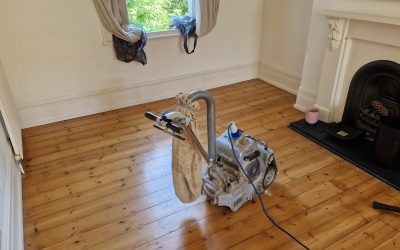
The golden rule is to start coarse and progress gradually: 36-grit removes old finishes and levels ridges; 60-grit flattens scratches; 80-grit refines; finally, 120-grit polishes ready for sealant. Always sand with the grain—Victorian pine scratches easily across its fibres.
Dust control is vital. Modern machinery is 90 – 95 % dust-free, but fine particles still find their way everywhere. Seal adjoining doors with masking tape and remove curtains. If you’re hiring kit, verify it has industrial-grade extraction. One mistake often made by enthusiastic weekend warriors attempting Transforming Victorian Boards solo is rushing the grit sequence. Skipping grades leaves swirl marks highlighted the moment finish is applied, and the only cure is to start again.
5. Choosing the Right Finish: Oil, Hardwax, or Lacquer?
Once the final pass is complete and the room is clinically dust-free, finish selection determines day-to-day performance and aesthetic.
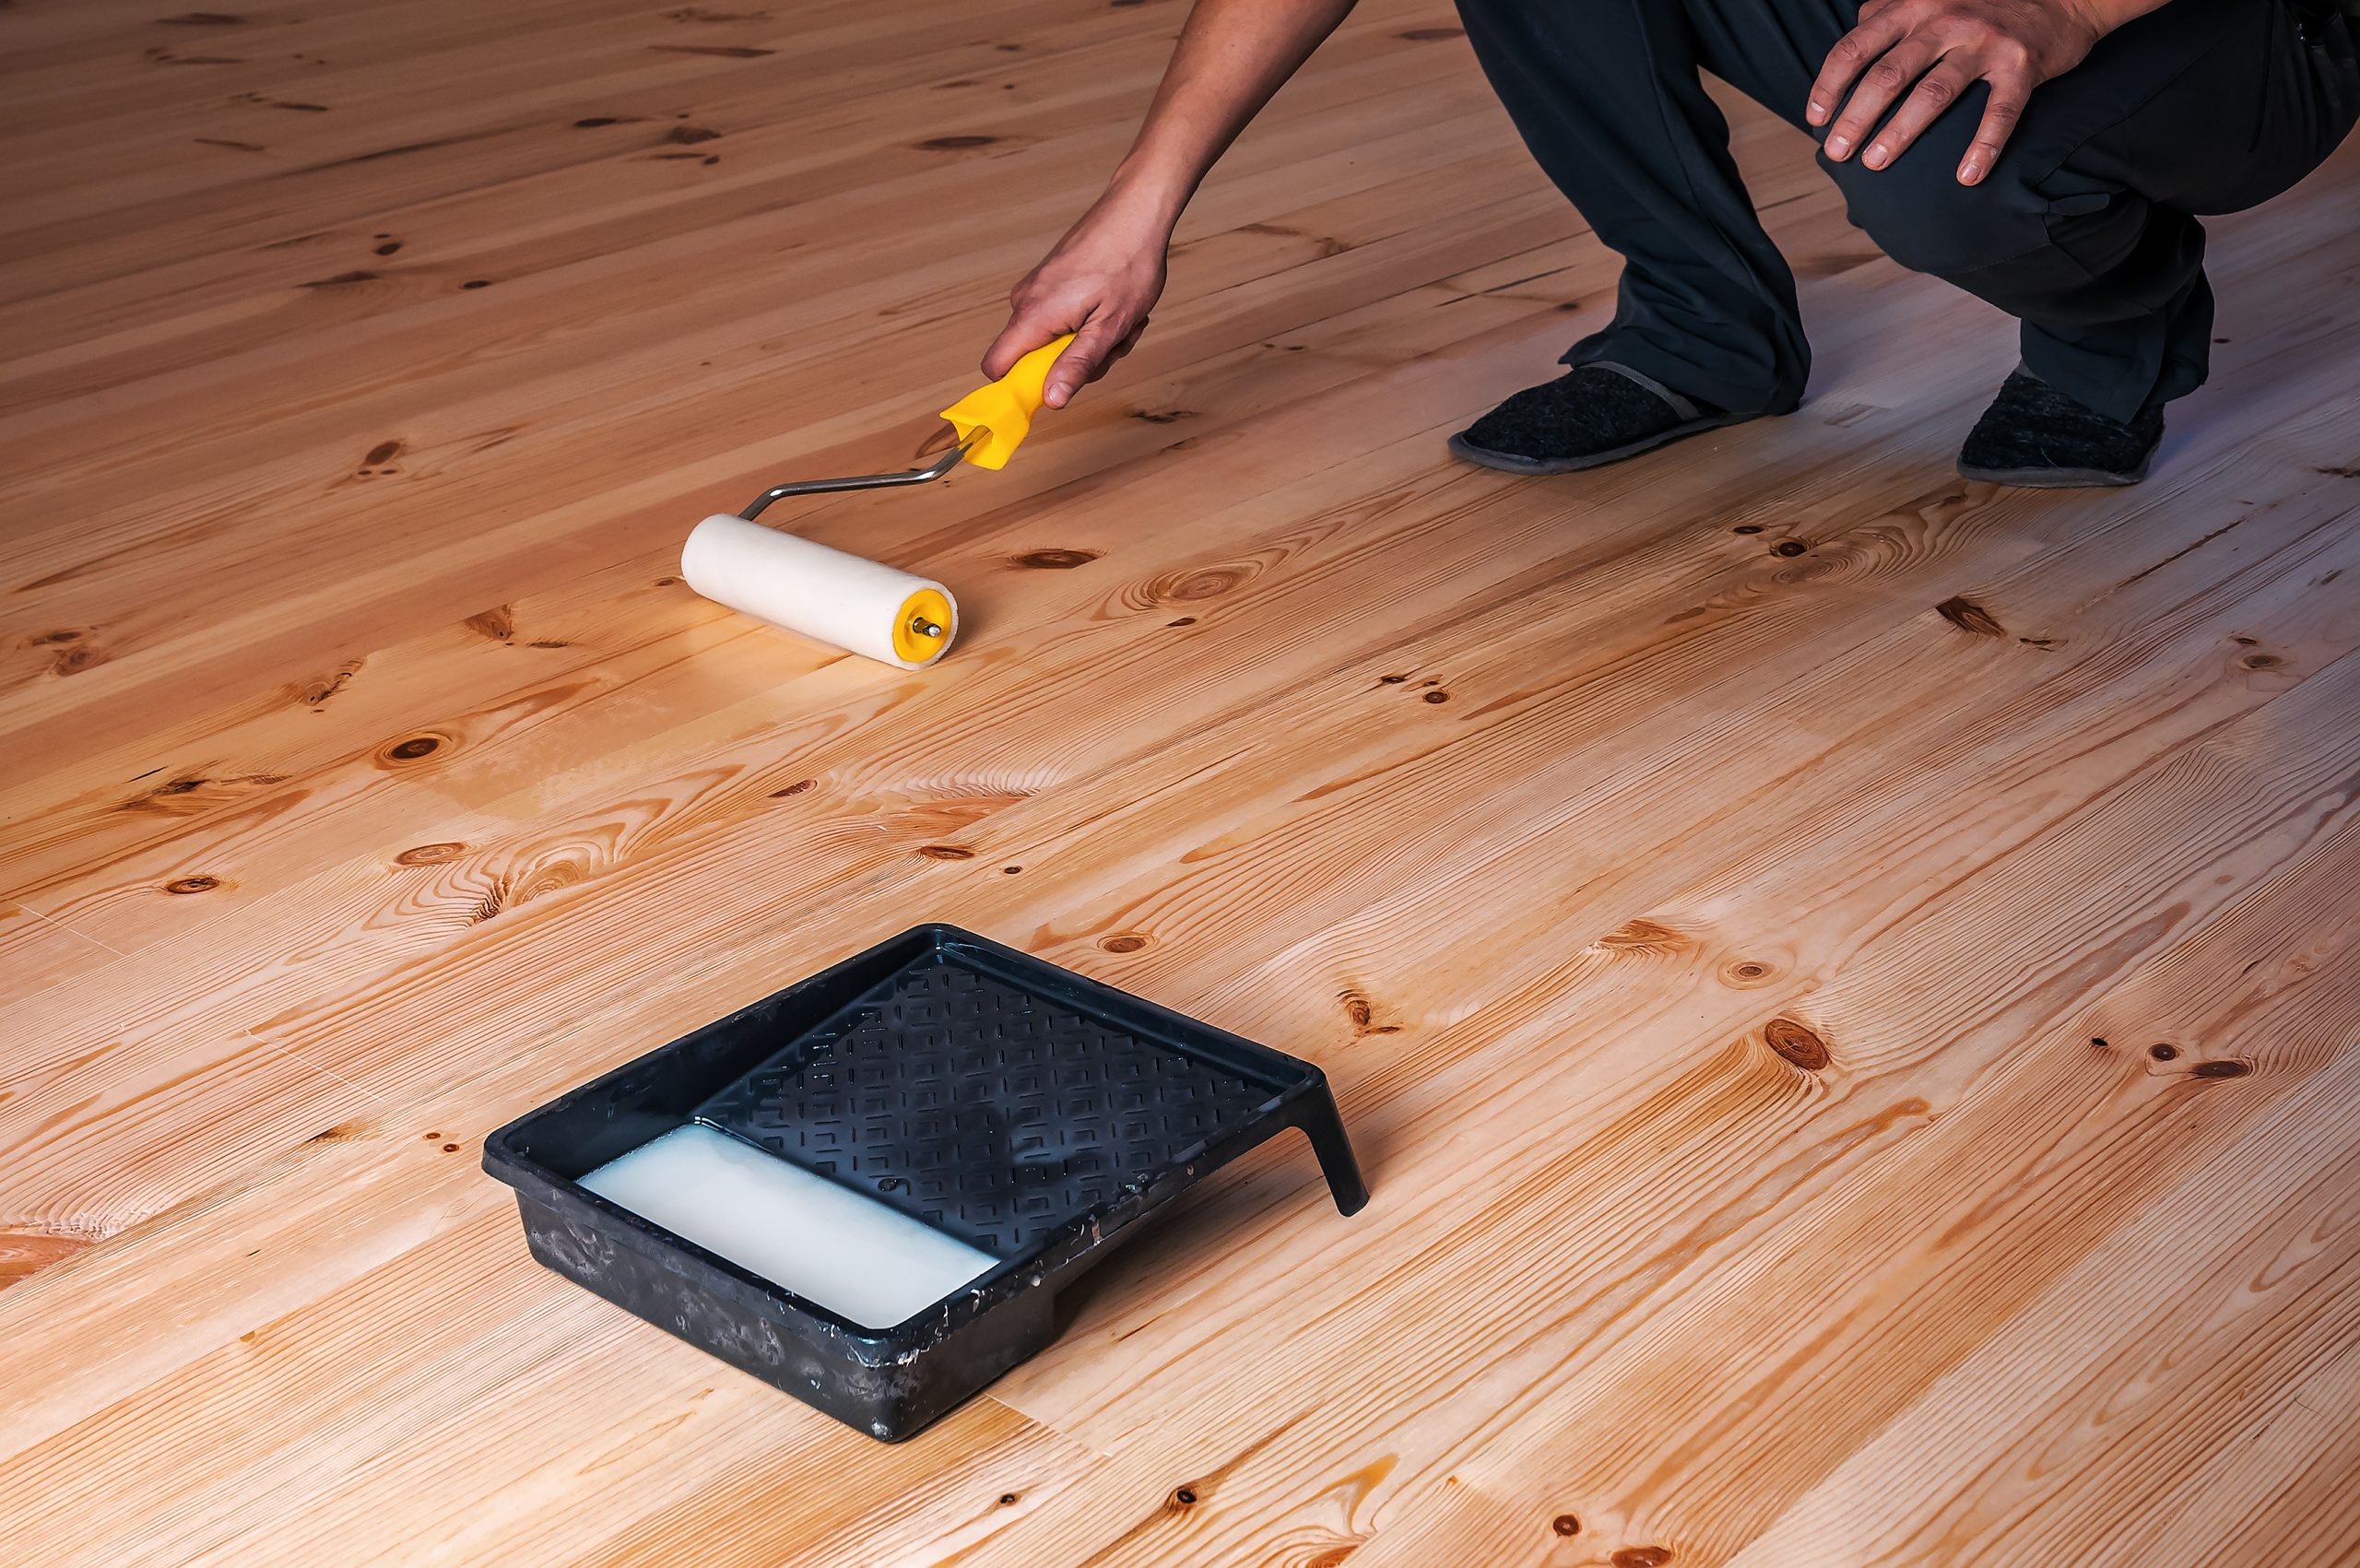
- Hardwax oil remains popular for its natural look and spot-repairability. It soaks deep, repelling spills while allowing the wood to breathe. Expect gentle sheen and easy top-up after two to three years.
- Traditional tung or Danish oil offers similar warmth but needs more frequent maintenance.
- Water-based polyurethane lacquer suits busy households wanting maximum durability. Modern UK blends are low-VOC, resisting scuffs and UV discolouration. Apply three coats, abrading lightly between.
For a statement look, many Isleworth owners tint the first coat with white, grey, or antique brown pigment; this preserves pine’s pale beauty or mimics aged oak. Always patch-test, because freshly sanded boards absorb stain unpredictably. Your chosen contractor should present samples under both daylight and artificial lighting to aid final selection—yet another reason to invest in expert Transforming Victorian Boards rather than gambling on DIY.
6. DIY vs Professional: Assessing Cost, Time, and Quality
On paper, hiring a belt sander for the weekend appears cost-effective. Rental averages £70 per day, plus abrasives, edge sander, detail sander, and finishes—often totalling £300–£400 for a 25 m² room. Factor in your time (two long days), risk of gouging boards, and disposal of dust, and the savings dwindle.
Professionals charge from £28 – £35 per square metre depending on repairs, staining, and finishing system. Their machinery is heavier, cuts flatter, and extracts better than hire-shop models. Crucially, experience means they know how to avoid the chatter marks, drum dips, and edge scallops that plague first-timers.
If your boards are priceless, wavy, or heavily coated in bitumen, paying specialists may cost less in the long run than replacing wrecked timber. For hands-on homeowners with limited budgets, sanding a spare bedroom first is sensible practice—just don’t experiment in the hallway that guests see every day.
7. Caring for Your Rejuvenated Floor
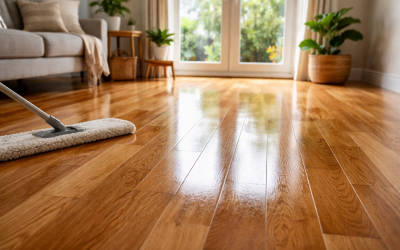
After the last coat cures (typically 24 – 36 hours for hardwax oil, slightly longer for lacquer), reinstate felt pads under furniture and adopt a ‘shoes-off’ policy for the first fortnight. Thereafter, gentle maintenance preserves your new-found lustre:
- Vacuum weekly using a soft bristle head; grit is the enemy of any finish.
- Damp-mop monthly with pH-neutral wood soap—never steam mop.
- Refresh oil every two to three years, or lightly abrade and re-lacquer high-traffic lanes.
- Control humidity (40 – 60 %) with a dehumidifier in winter; this prevents boards shrinking excessively and reopening gaps.
Follow these guidelines and the craftsmanship delivered through Transforming Victorian Boards will continue to turn heads for decades.

8. Case Studies: Real Homes, Real Transformations
The Riverside Sitting Room
When Sarah and Ben purchased their 1895 cottage overlooking the Thames, the lounge floors were a patchwork of paint and plywood. After replacing a few irreparably damaged boards with reclaimed yellow pine from a salvage yard, professionals took the surfaces down to bare wood, stained them a soft driftwood grey, and sealed with satin lacquer. The once dreary room now reflects river light, making the space feel twice its size.
Victorian Villa Nursery
Expectant parents on Twickenham Road wanted a healthier environment for their newborn. Contractors employed a 99 % dust-free system, filled air-leaking gaps, and finished the boards with child-safe hardwax oil. The result: a warm honey-gold floor that complements pastel walls and enhances acoustic insulation.
Loft Conversion Home Office
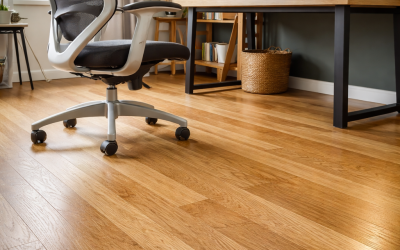
Original attic boards were paint-splattered and riddled with nail holes. After sanding and strengthening joists, the boards were banana-shaped in places, so expert feathering produced a seamlessly flat surface. A clear lacquer finish ensures rolling office chairs glide smoothly without denting.
Each project reinforces how Transforming Victorian Boards can adapt to different lifestyles, colour schemes, and practical demands while showcasing 19th-century craftsmanship.
Conclusion:
Victorian floorboards are more than functional components; they’re heritage assets that enrich Isleworth’s period streetscapes. Restoring them is an act of conservation wrapped in everyday luxury—warmer underfoot than stone, quieter than laminate, and easier to refresh than carpet. From meticulous preparation and dust-free sanding to thoughtful finishing and ongoing care, each stage requires knowledge, patience, and the right tools. That’s why so many homeowners put their trust in Transforming Victorian Boards specialists. They deliver a flawless, long-lasting surface that honours the past yet meets modern expectations for hygiene, durability, and style. So, pull up that ageing carpet, silence the squeaks, and let your boards tell their story anew. Your home—and its 19th-century floorboards—deserve nothing less than a journey from dull to delightful.